
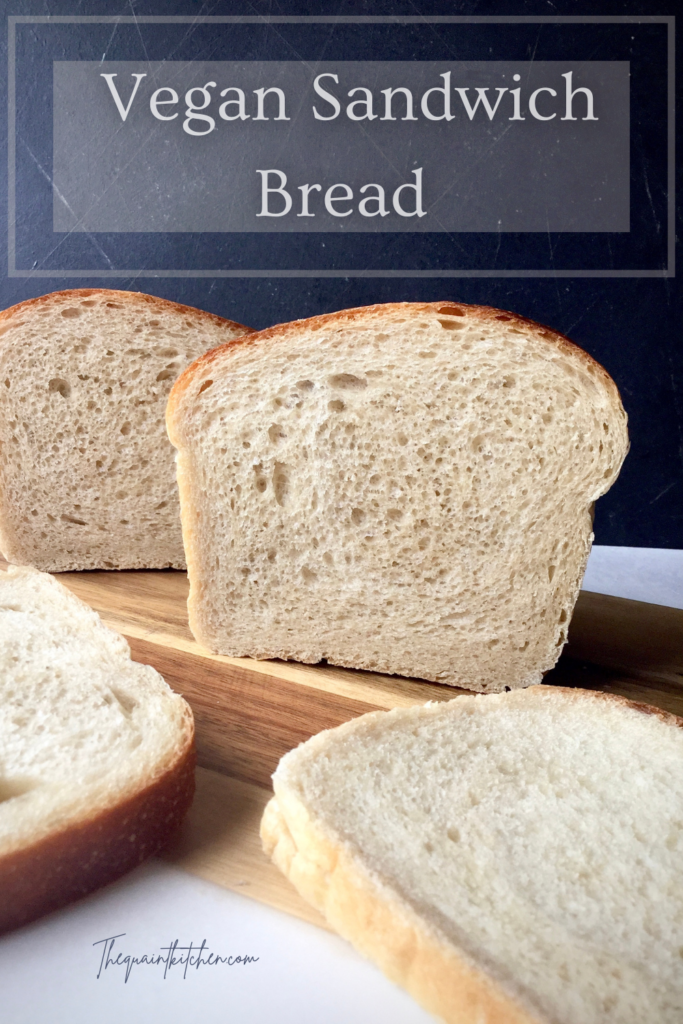
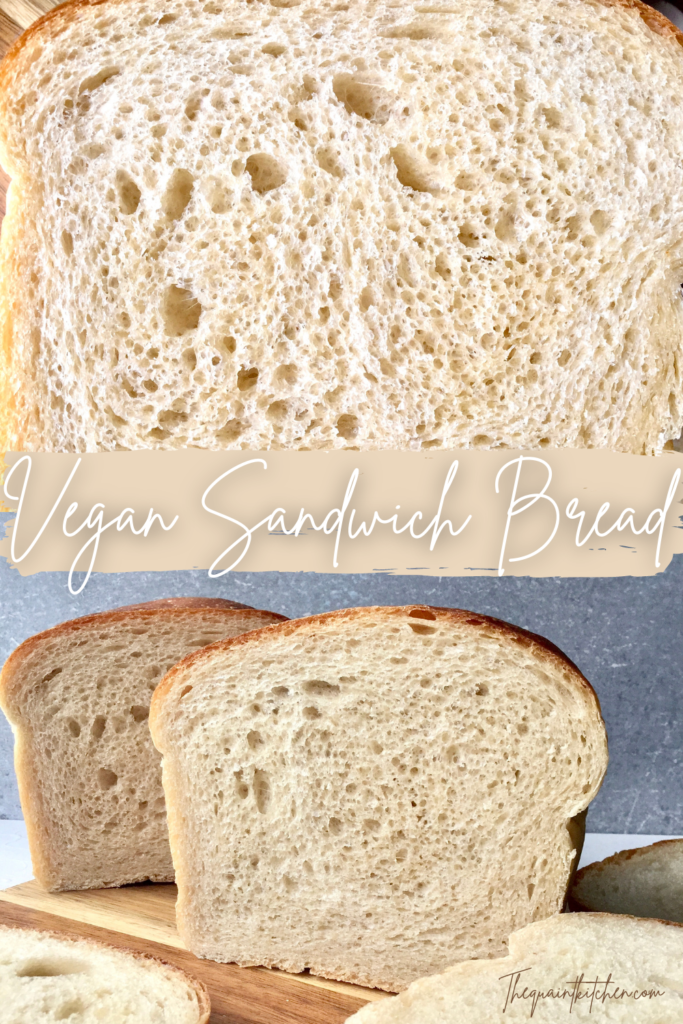
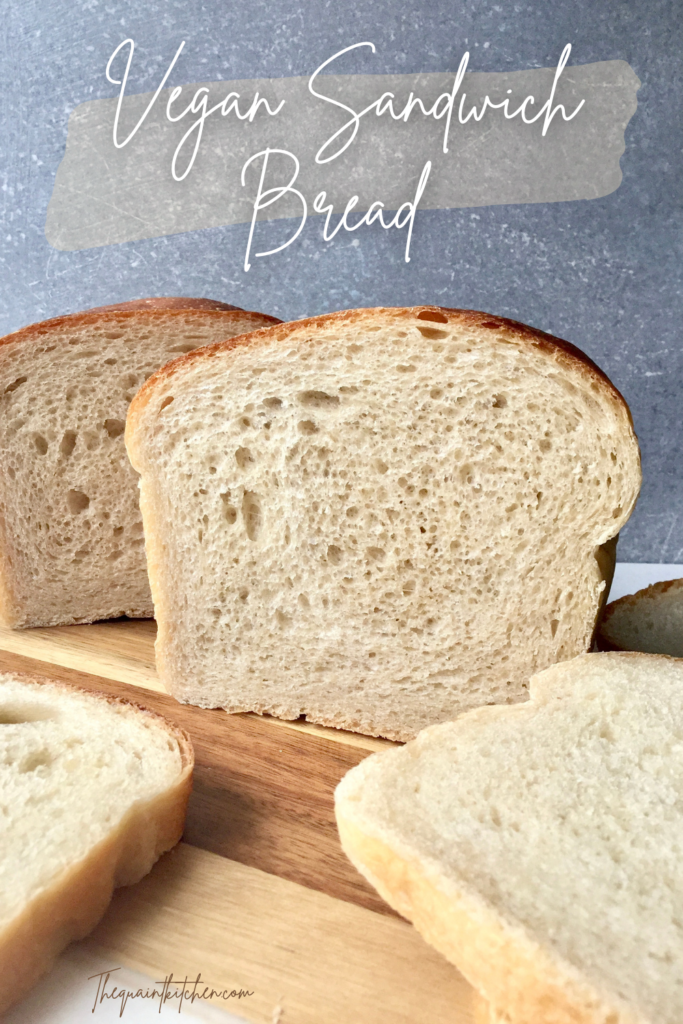
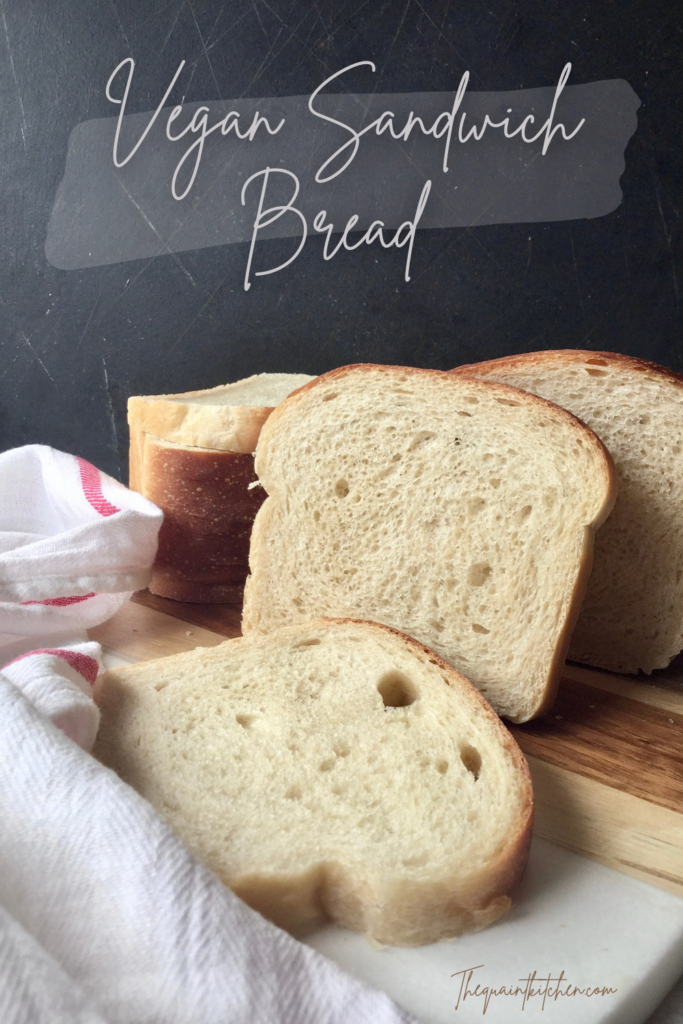
Vegan Sandwich Bread (Step-by-Step)
Although there’s no longer a shortage of bread in stores – or almost every other item we needed (I’m looking at you, toilet paper) – it’s still practical to be able to make your own vegan sandwich bread. If for no other reason than to enjoy it still warm and fresh from the oven, knowing it’s the fruit of your labour and made with just a few simple ingredients.
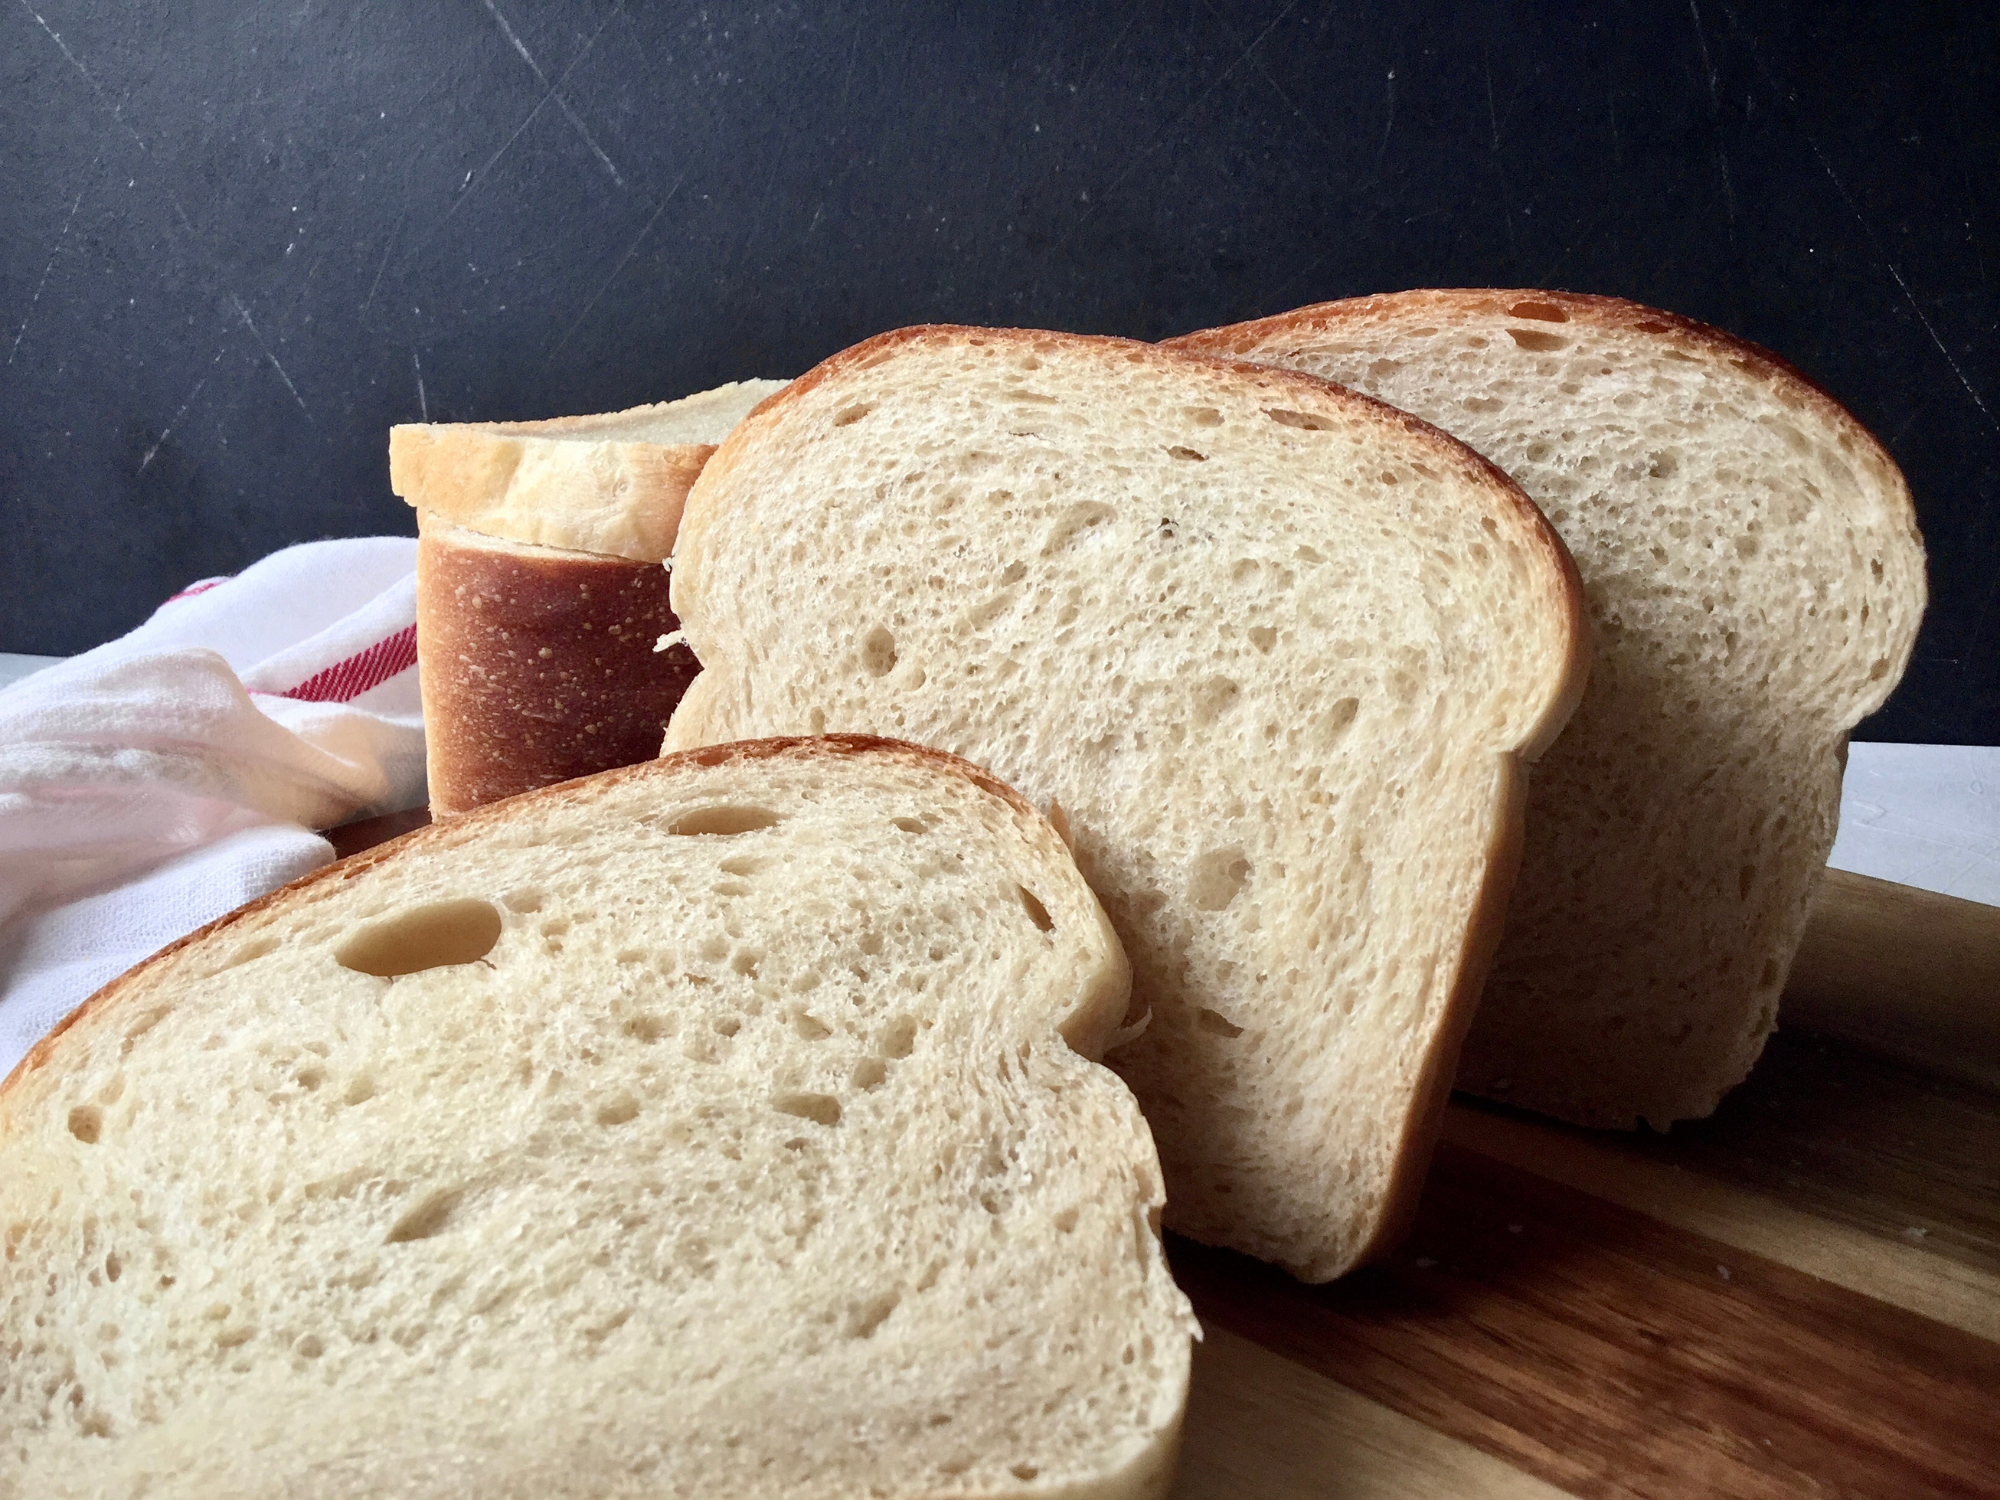
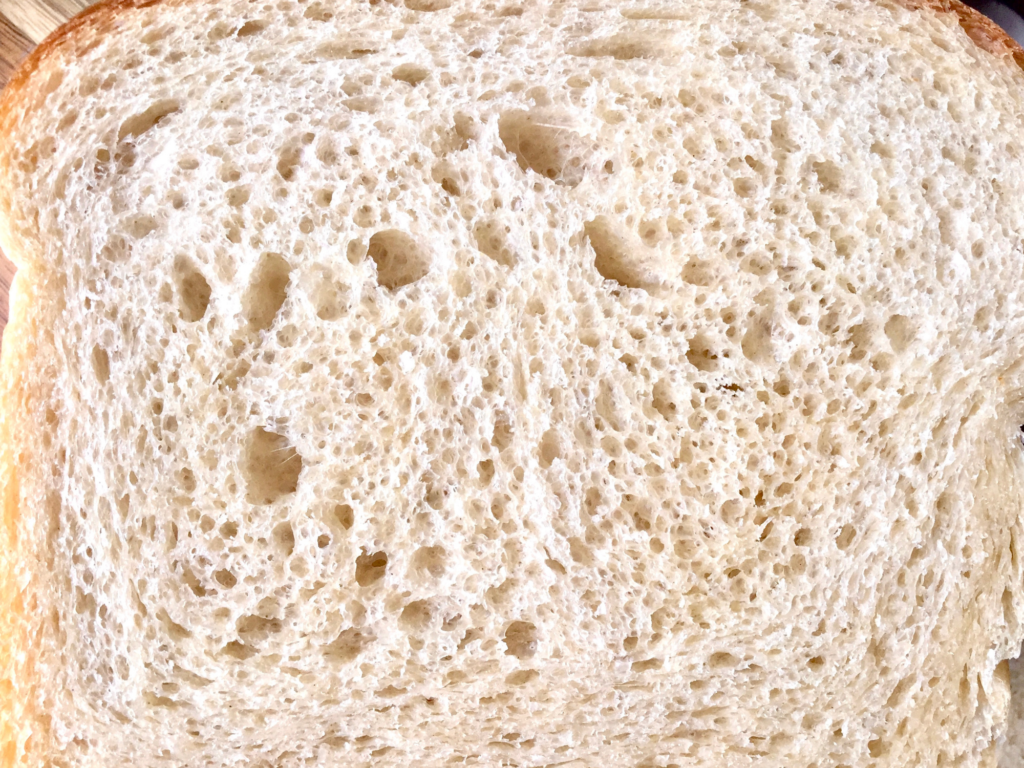
This is a typical grocery store-type sandwich bread, but homemade. It’s soft and fluffy, toasts beautifully and is perfect for all uses from grilled cheeses, to club sandwiches, to PB&J. Although I would personally use raisin bread for the ultimate PB&J.
I know this post seems quite long, but it’s simply because of all the explanations. So if you’re already comfortable with making bread, you can just skip straight to the recipe if you’d like. If not, you’ll find all the step-by-step instructions and pictures to make this vegan sandwich bread below!
How to make vegan sandwich bread
The dough
First, you’ll want to let the yeast foam. Heat the water, milk and sugar together until the mixture reaches around 37C/98F, but no more than 48C/120F to avoid killing the yeast. Then stir in the yeast and set aside for it to foam. I like to put it in a warm place so this step doesn’t take forever since it’s cold in my kitchen.
While that’s going, whisk together the flour and salt in a large bowl or the bowl of a stand mixer. Once the yeast has foamed, add it to the flour along with the oil. From here, you’ll want to stir the mixture until a shaggy dough forms, then tip it out onto a lightly floured or oiled work surface to knead. Or attach the dough hook to your stand mixer to knead.
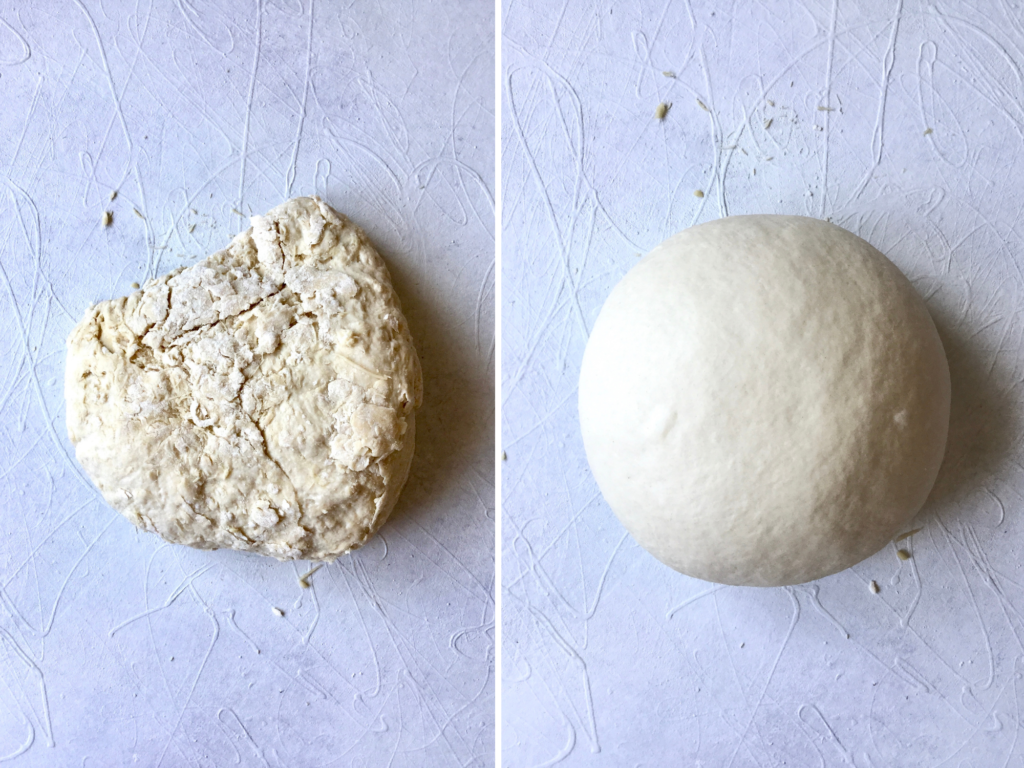
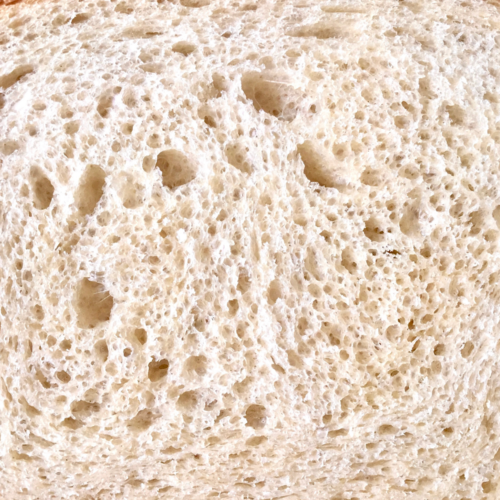
Kneading will take about 10-20 minutes by hand or 5-10 on medium speed in a stand mixer. To check if it’s done, stretch a piece of the dough thin enough to see light through it without it ripping. If it rips easily, continue kneading for another few minutes.
The dough should be tacky but not sticky. Only add as much flour as you need to be able to work it, but not too much. Alternatively, you can lightly oil your hands and work surface periodically to knead it more easily.
But if your dough is too sticky, you can add a bit of flour at a time until you get the right texture. Even if you follow the recipe to a T, your dough might need more flour or water depending on your environment, the humidity, the type of flour you use, etc. So go by feel.
Proofing and shaping
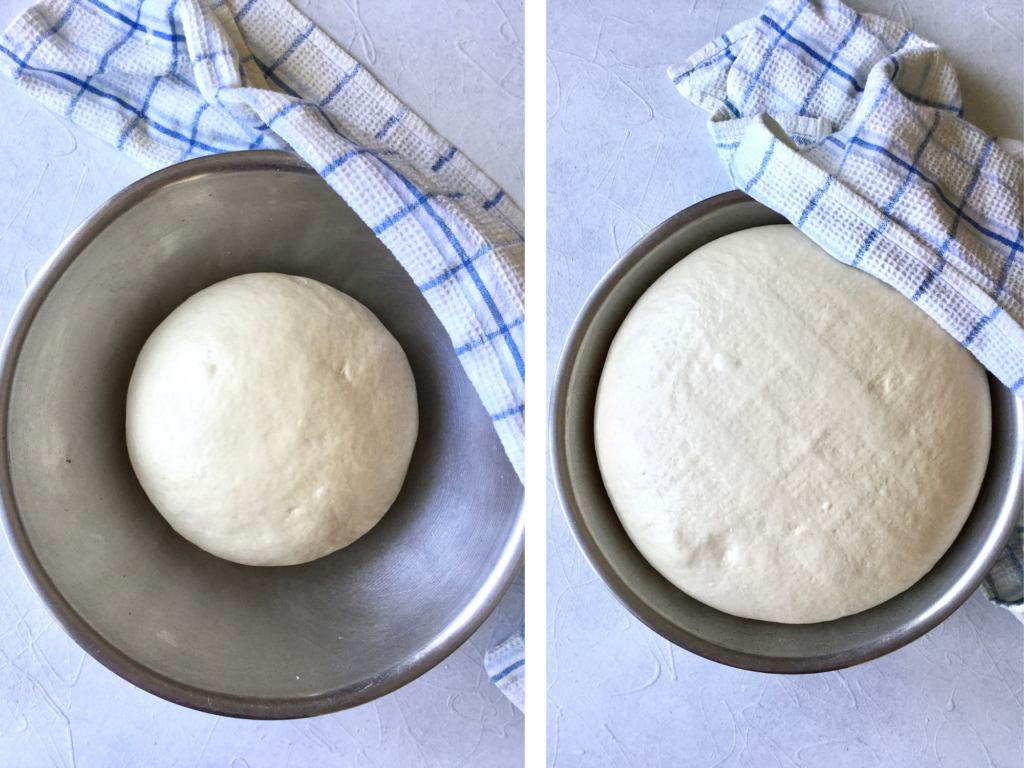
Once it’s sufficiently kneaded, form it into a taught ball and place it in a lightly oiled bowl, making sure it’s fully coated to prevent a crust forming. Then cover with a damp tea towel and put it in a warm place to double in size (about 1-2 hours).
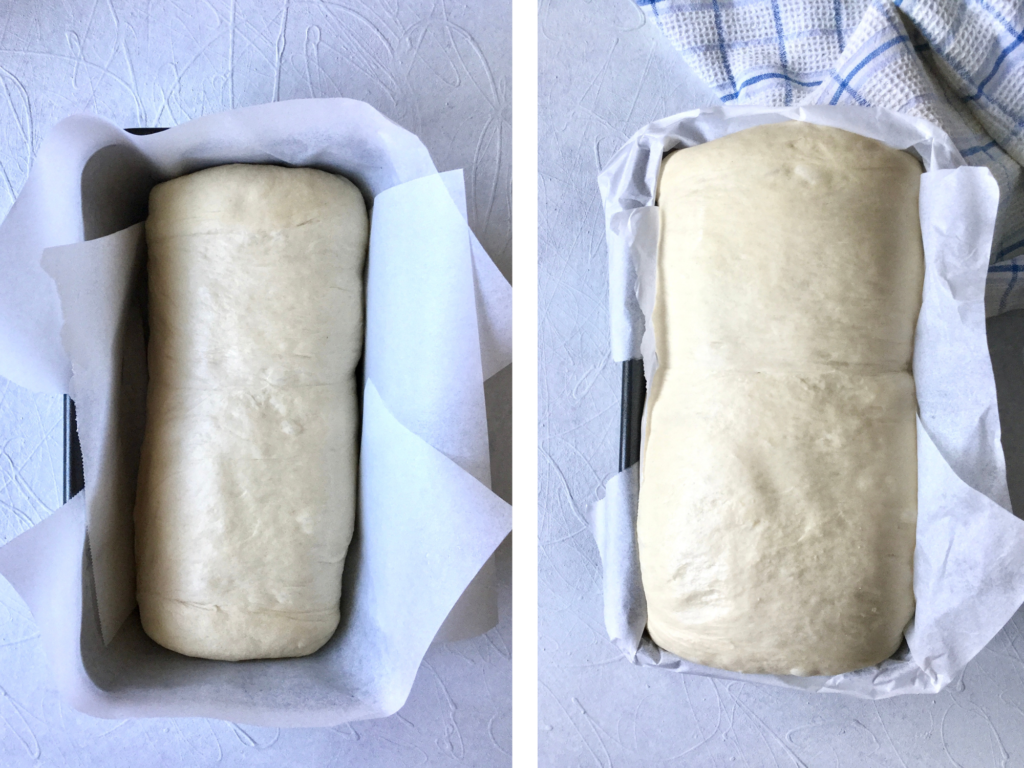
In the meantime, grease a 9×5 inch loaf pan and line it completely with parchment paper. I line it as an insurance policy, because bread has stuck to my pan one too many times for me to skip that step. There’s nothing worse than going through all the work of making bread only for you to rip it apart while trying to get it out.
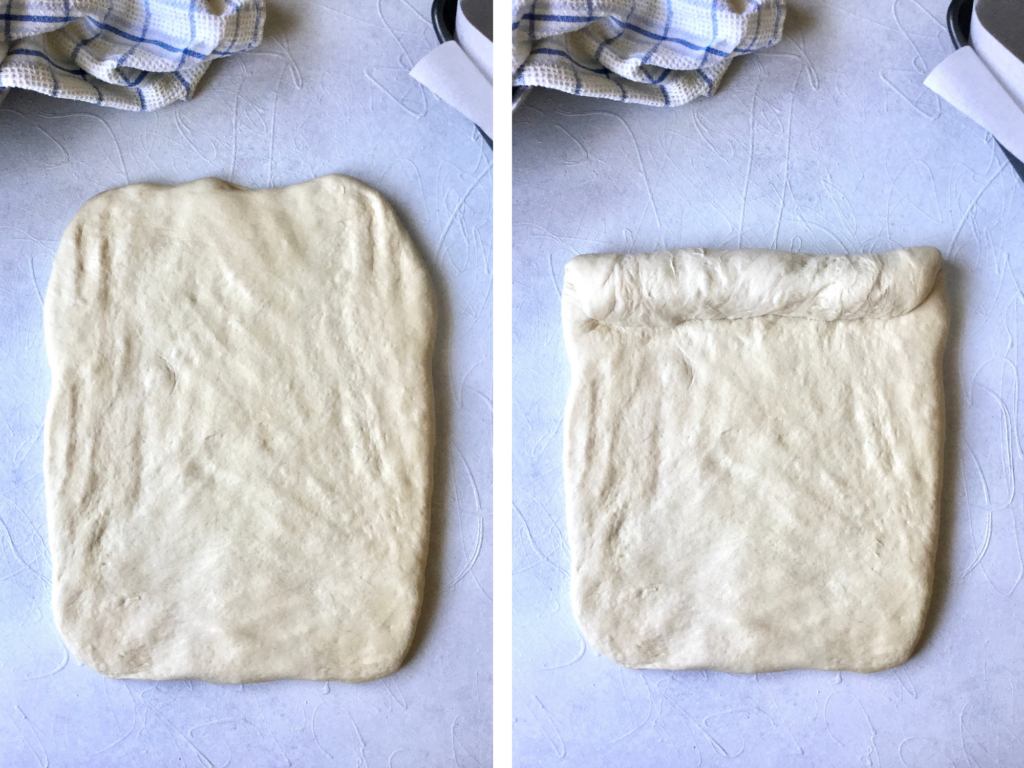
Then, tip it out onto a clean surface, give it a few kneads and pat it out into a 8×12 inch (20x30cm) rectangle with the short side in front of you. To shape the loaf, start by rolling the furthest side inward. Then fold in the sides, and continue rolling until you reach the end in front of you. It sounds complicated, but hopefully the pictures are helpful.

Once you reach the end, pinch the seam shut with your fingertips or the heel of your hand. Place it in the loaf pan and cover back up with the damp tea towel. This proof will take 30-60 minutes. You’ll know it’s ready when it’s risen slightly higher than the pan.
Baking and cooling
When it’s almost done proofing, preheat your oven to 190C/375F. Then you can (optionally) brush the loaf with non-dairy milk and bake for 40-45 minutes or until the internal temperature reaches between 90°C/194°F and 94°C/201°F. It’s the easiest way of knowing if the bread is done. Depending on your oven, it can seem baked all around but still be slightly undercooked in the middle. Alternatively, if you tap it, it should sound hollow when it’s done.
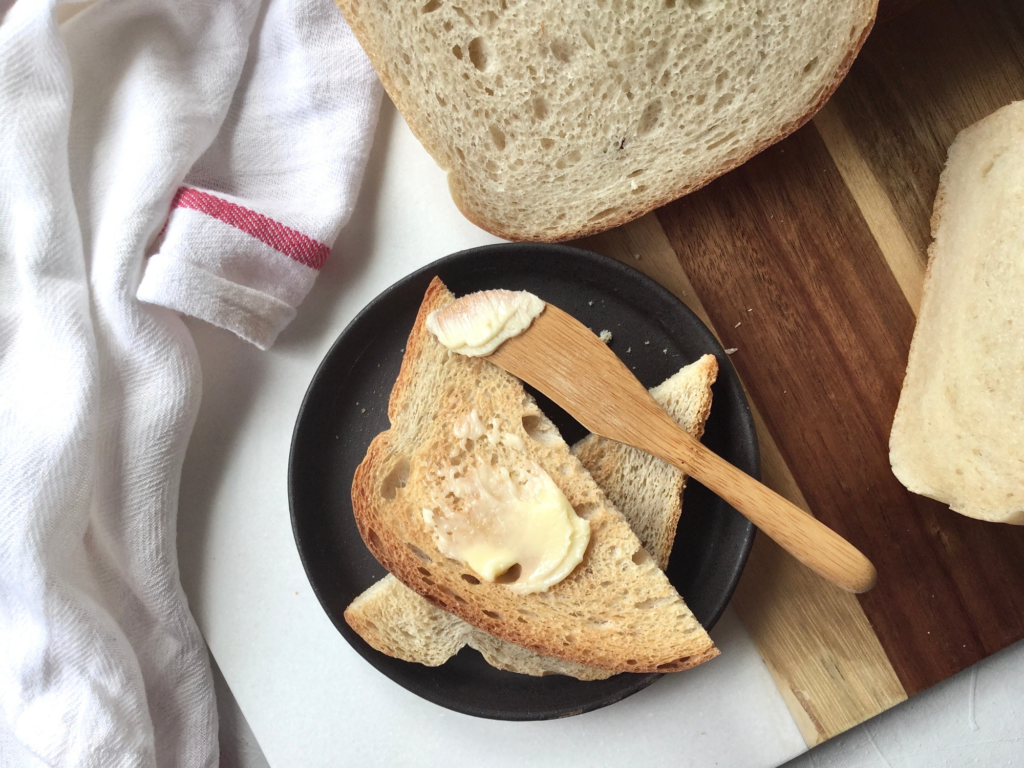
And now the hardest part, waiting for it to cool. After a few minutes, take it out of the pan and set it on a wire rack to cool completely. Honestly, no judgement if you devour it while it’s still warm. But for the best texture, it’s best to let it cool. When bread is cut while it’s still hot, it loses its structure and won’t have the same chew and softness.
A few notes
The flour. Bread flour is best here, but you can also use all-purpose flour, which I’ve done multiple times. But bread flour will yield the traditional chew you associate with bread. If you happen to have vital wheat gluten, you can make your own bread flour by combining it with all-purpose. 485g all-purpose + 15g vital wheat gluten. It’s a good alternative in a pinch.
The liquids. The recipe calls for both unsweetened plant based milk and water. But you can easily make it using all water if you’re out of milk, or all milk for a softer/richer bread.
The sugar. I used white granulated sugar, but you can use any sweetener of your choice. Granulated or liquid.
The oil. You can use any neutral oil, but you could also use melted vegan butter for added flavour.

The bread. Sandwich bread is a very forgiving thing to work with. I’ve overproofed it, underproofed it, overbaked it, underbaked it, not kneaded it enough, used all-purpose flour, replaced some of the flour with another, and it’s always come out good. Maybe not the best loaf ever, but I’ve always gotten a decent bread out of it. So don’t be afraid to mess it up, because I’m sure it’ll be fine!
How to store vegan sandwich bread
This bread will last about 5 days in a closed bag at room temperature. I prefer to keep it in the fridge, that way it lasts up to 2 weeks. It can also be frozen for 2-3 months tightly wrapped in a sealed bag.
If you make this recipe please let me know in the comments! All feedback is very much appreciated and I would love to hear from you! You can also tag me on instagram @the.quaint.kitchen or use the hashtag #thequaintkitchen to share your creations!
Vegan Sandwich Bread
Ingredients
- 200 g water, lukewarm
- 150 g unsweetened plant based milk, lukewarm
- 1 tbsp white granulated sugar
- 2 ¼ tsp instant yeast or active dry yeast
- 500 g bread flour, all-purpose will also work
- 2 tsp salt
- 60 g neutral oil, (grapeseed, canola, vegetable…)
Instructions
- Combine the water, milk and sugar and heat them up to around 37C/98F, but no more than 48C/120F.
- Stir in the yeast and set aside to let it foam.
- In a large bowl or the bowl of your stand mixer, whisk together the flour and salt. Then pour in the foamed yeast mixture along with the oil.
- Stir everything together until a rough dough forms then tip it out onto an oiled or lightly floured surface and knead until it forms a nice smooth ball (10 to 15 minutes) and you’re able to stretch a piece thin enough to see light through it without it ripping. About 5-10 minutes in a stand mixer at medium speed.*Only add enough flour when kneading for the dough to be tacky but not sticky as you work it. The more you knead it the more it will become pliable and easy to work with. I only needed to use about 1-2 tbsp for reference, but it will depend on your environment and the flour you’re using, so go by feel.
- Place the dough in a lightly oiled bowl, making sure it’s all oiled to avoid a crust forming, cover it with a damp tea towel and place it in a warm place to proof for about 1-2 hours or until doubled in size. This will depend on the temperature of your kitchen.
- Grease a 9×5 inch loaf pan and line it completely with parchment (stuff always sticks in my pan so I do it to ensure the bread comes out in one piece). Once the dough has proofed, tip it out onto a clean surface, give it just a few kneads and pat it out into a 8×12 inch (20×30 cm) rectangle with the short side facing you.
- Starting with the side furthest from you, roll it slightly in, then tuck the sides in and continue rolling until it reaches the end nearest you. Pinch the seam shut with your fingertips or the heel of your hand and place it in the loaf pan seam side down. *see pictures in post for reference on shaping.
- Cover back up with a damp tea towel and proof again for 30-60 minutes. When it’s almost ready, preheat your oven to 190°C/375°F.
- Optionally brush with milk, then bake for 40-45 minutes or until the internal temperature reaches between 90°C/194°F and 94°C/201°F. If you see that the top is browning too fast, you can cover it loosely with aluminium foil and continue baking.
- Let it cool about 5 minutes in the pan before removing to a wire rack and letting it cool completely before slicing.
Notes
- *Disclaimer: I have a tiny not-so-great oven, so your bake time may vary from mine.
- I strongly suggest making recipes by weight, if you make them by cups I can’t guarantee that you’ll get the same results.
- The milk can be replaced with the same amount of water and vice versa.
- You can use another granulated or liquid sugar of your choice instead of white granulated sugar.
- The oil can be replaced with melted vegan butter vegan butter vegan butter for added flavour.
- To switch it up, you can replace 100g of the flour with another like whole wheat or rye, which I like to do sometimes.