
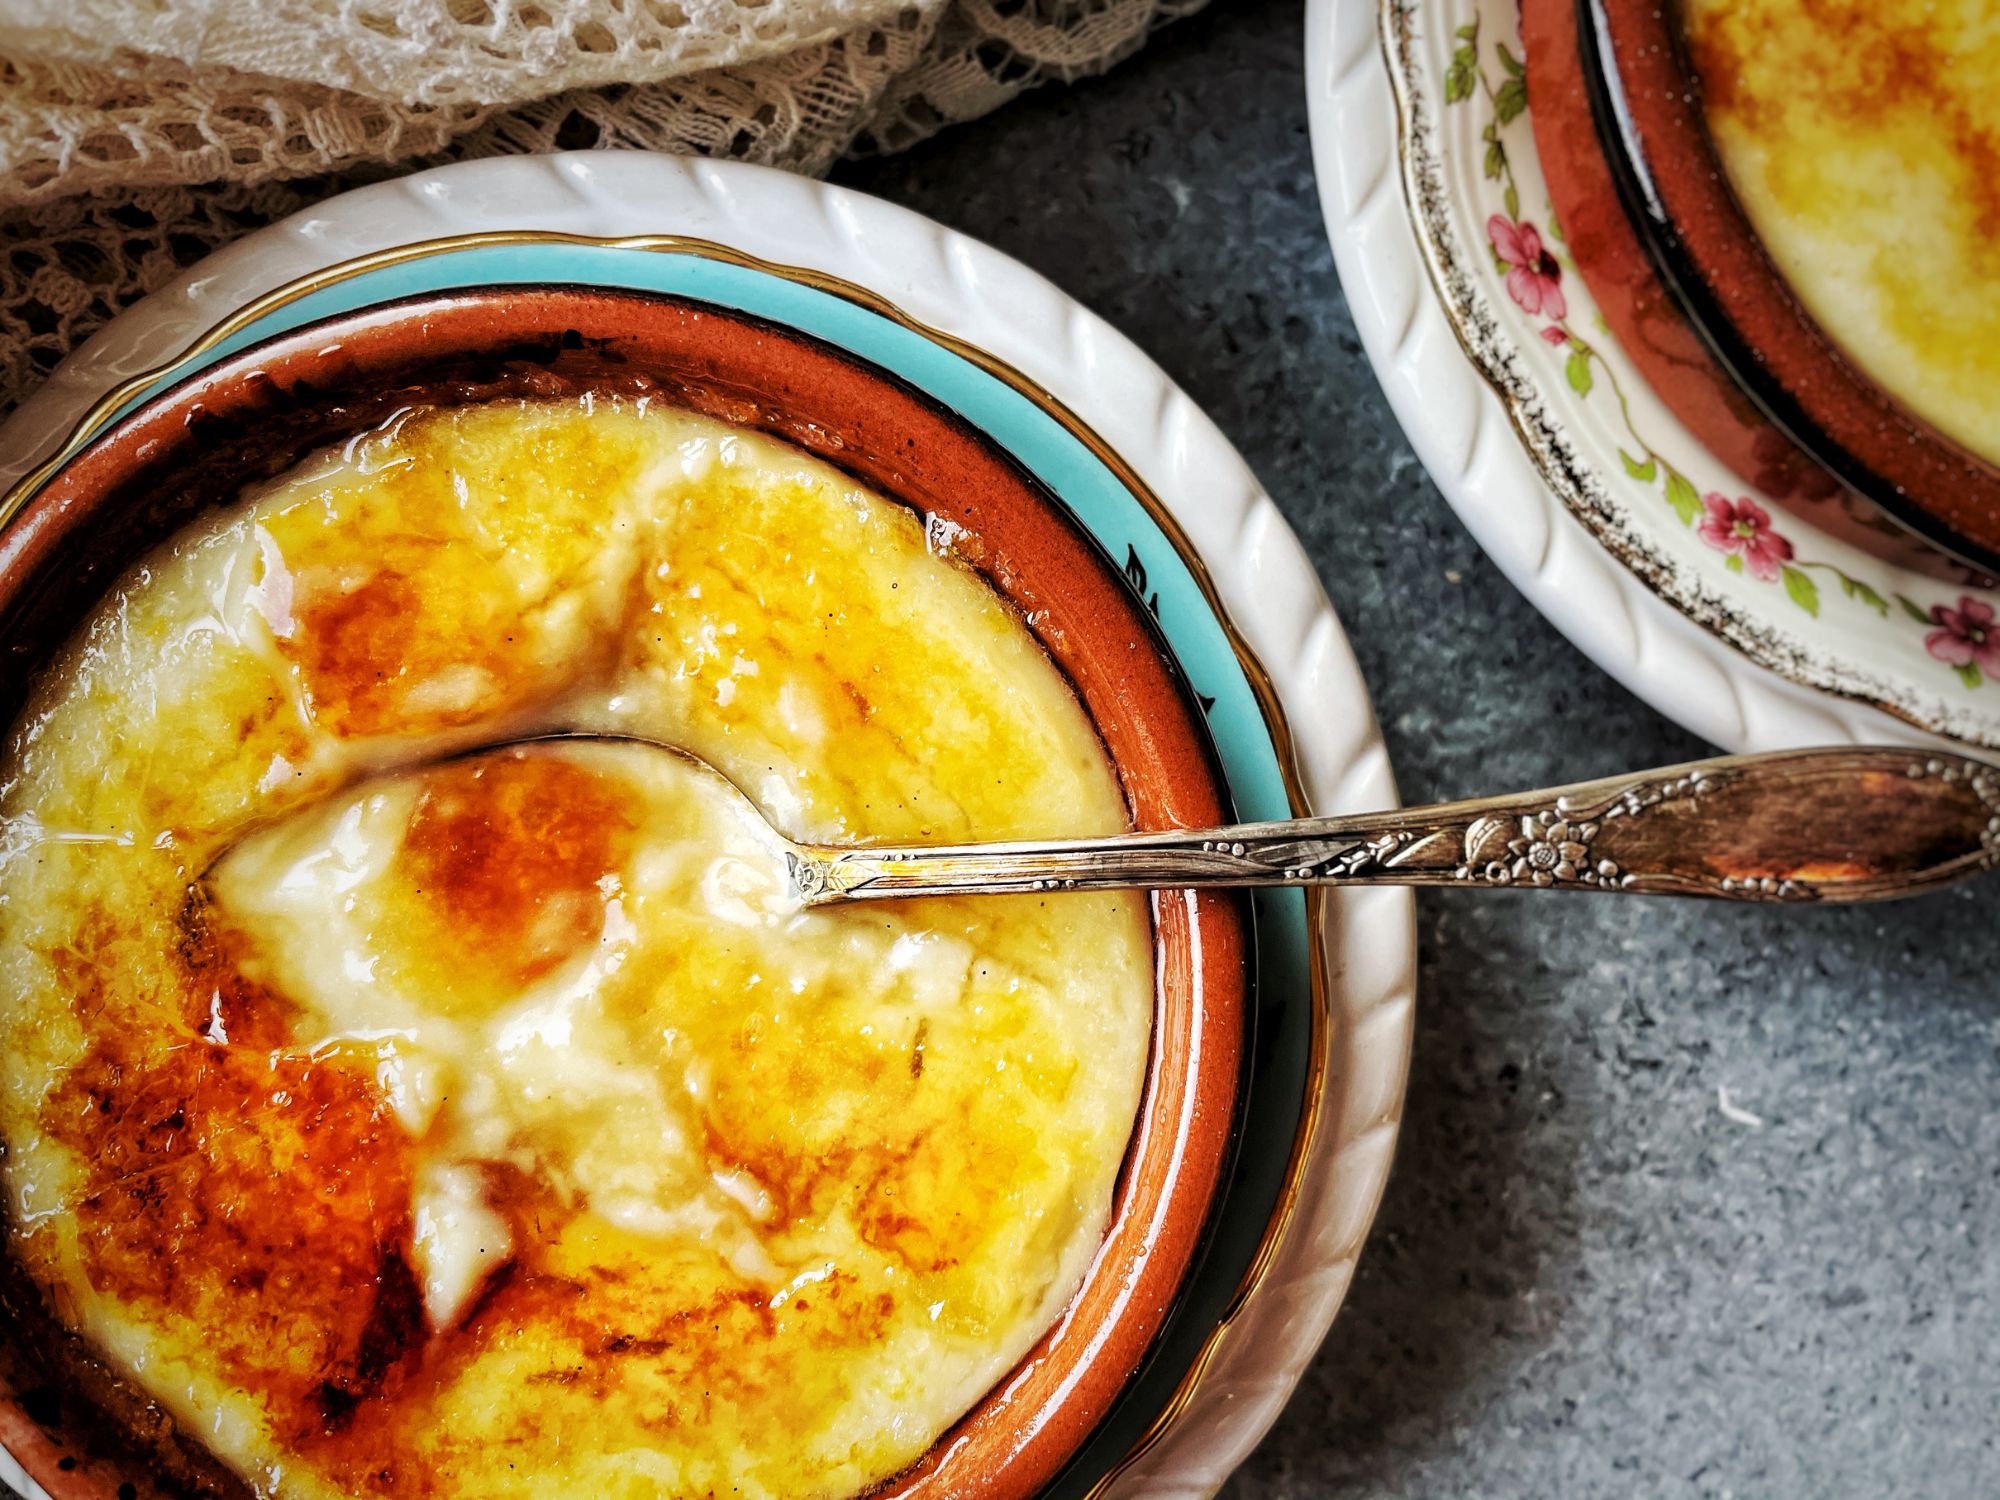
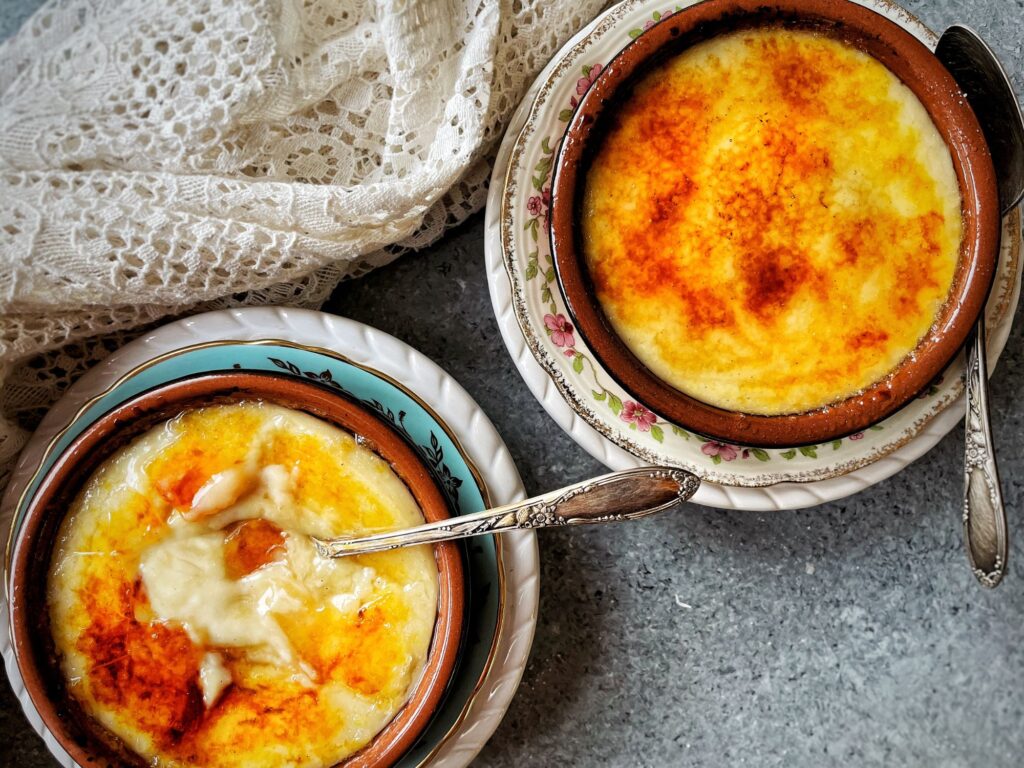
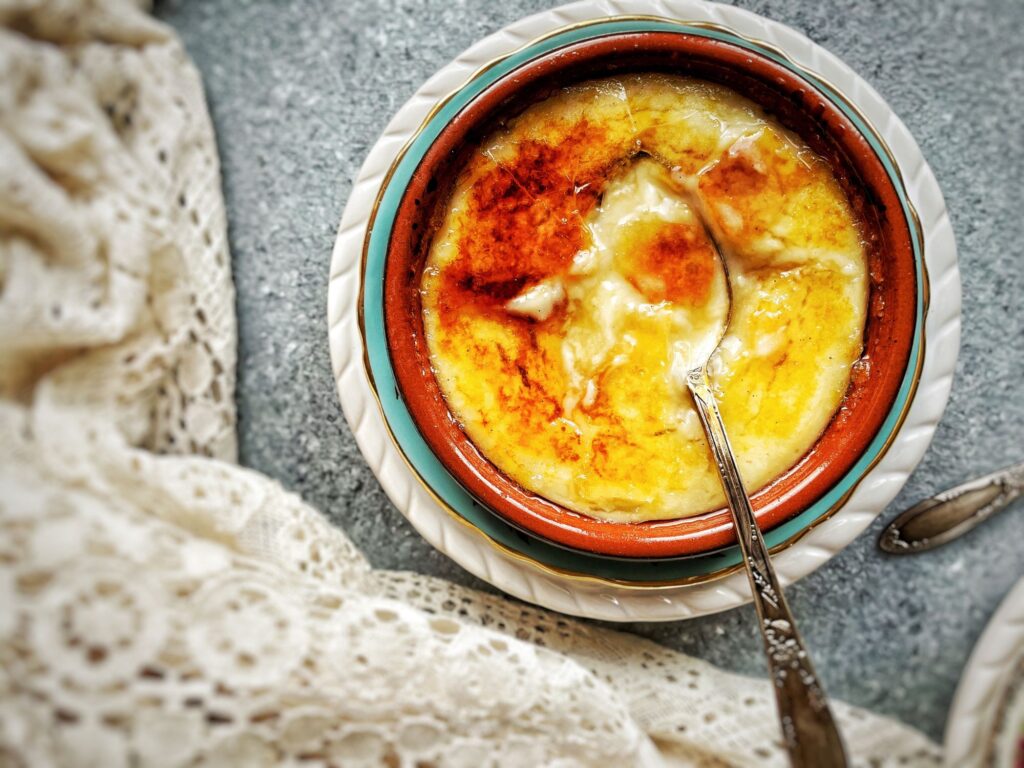
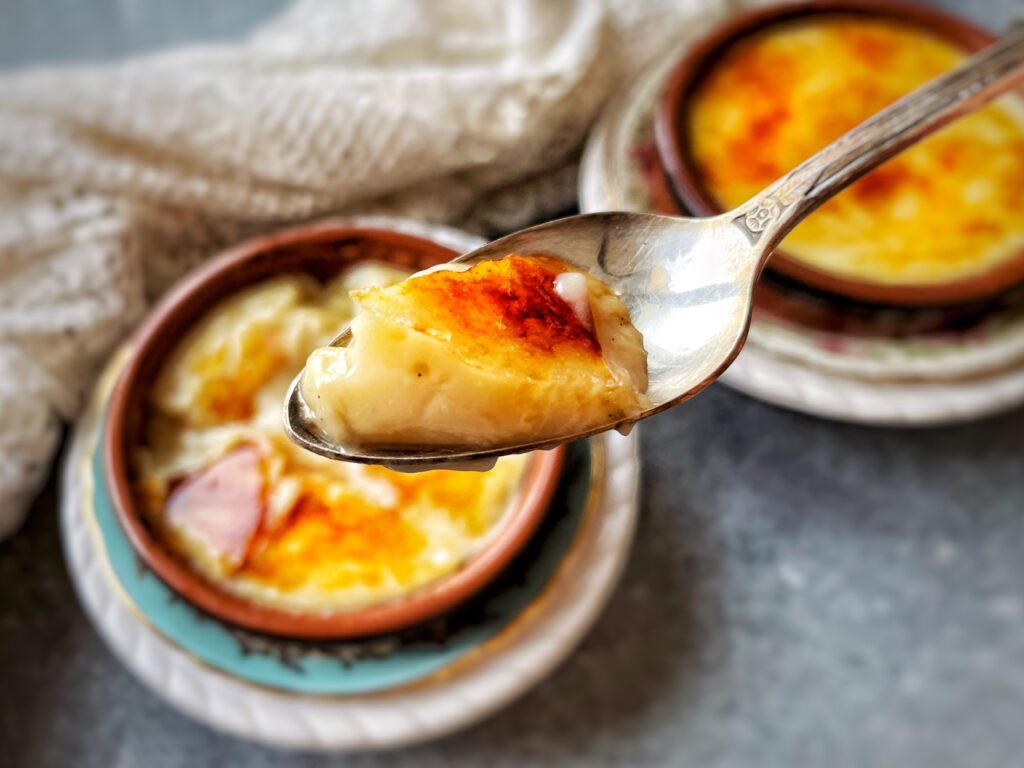
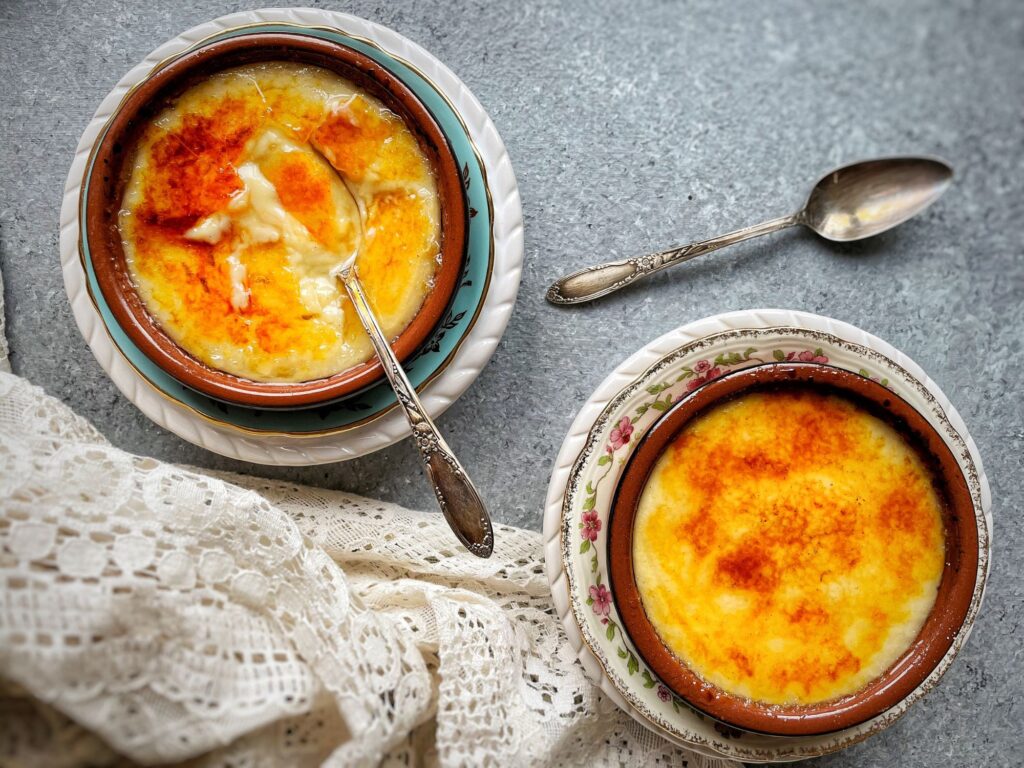
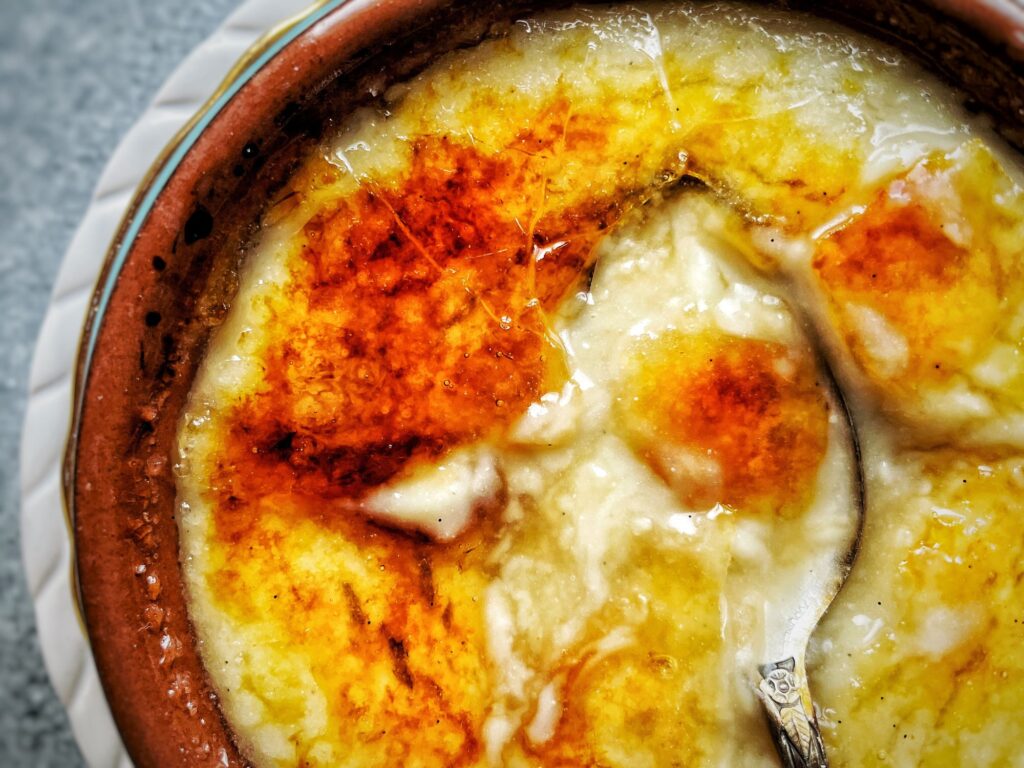
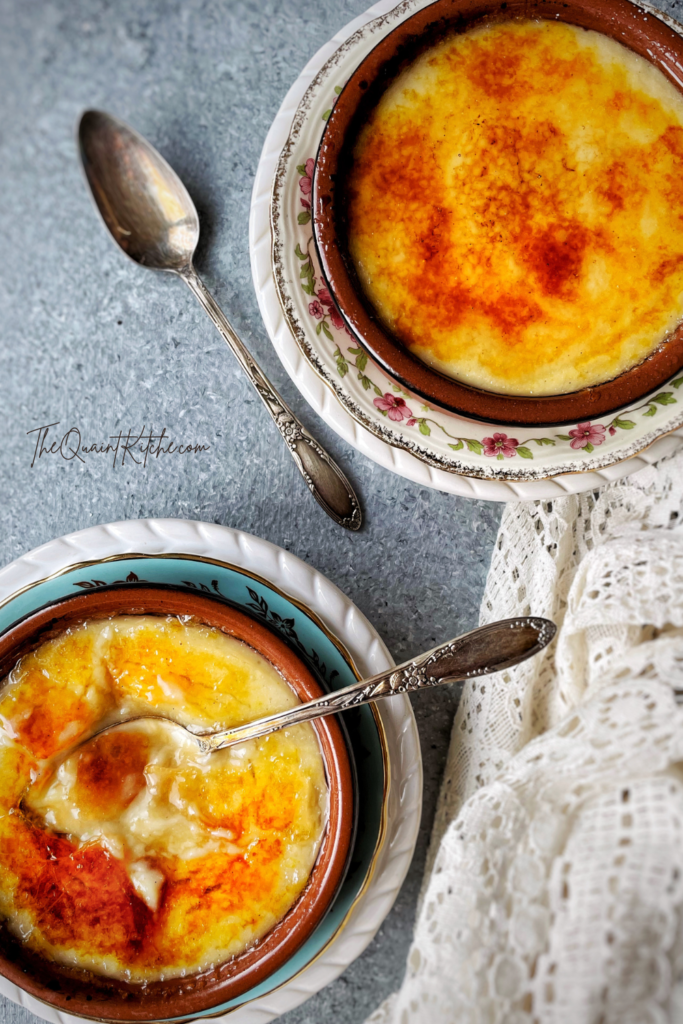
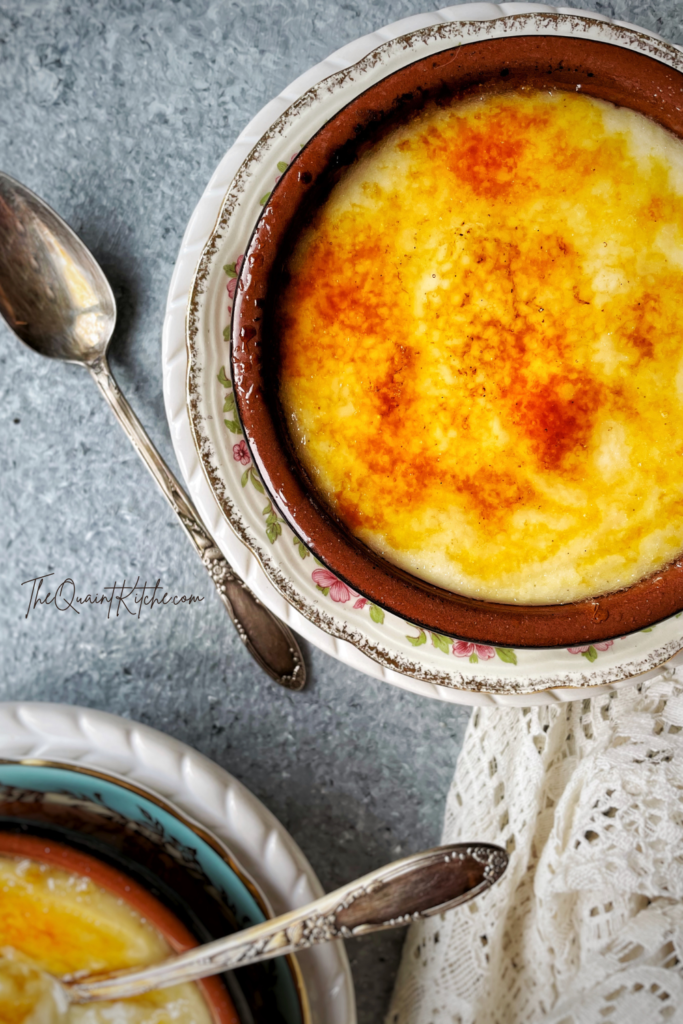
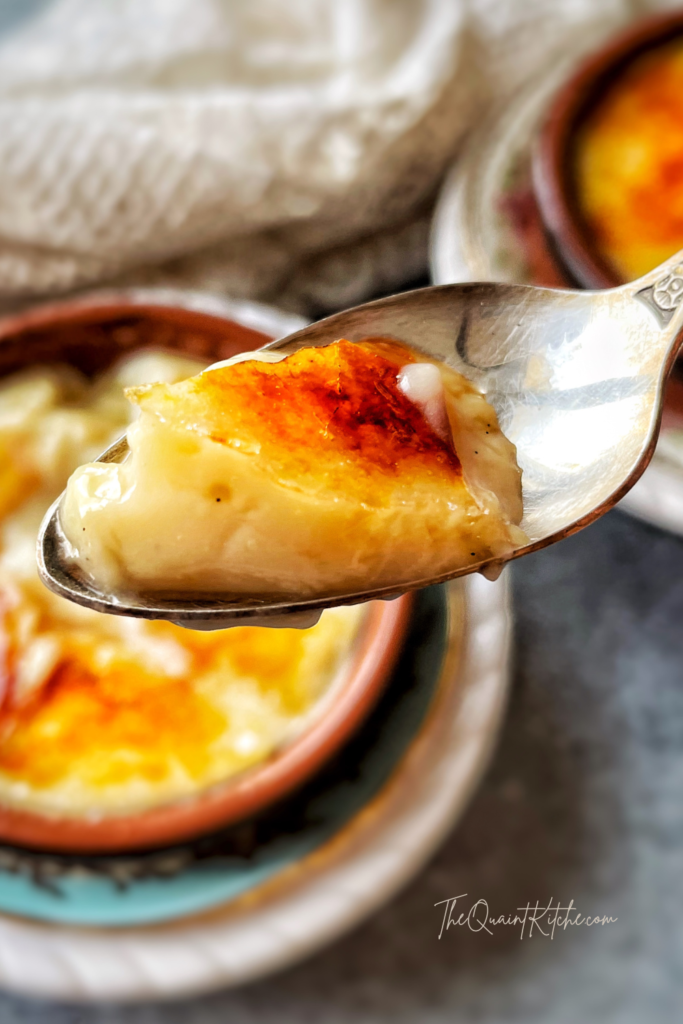
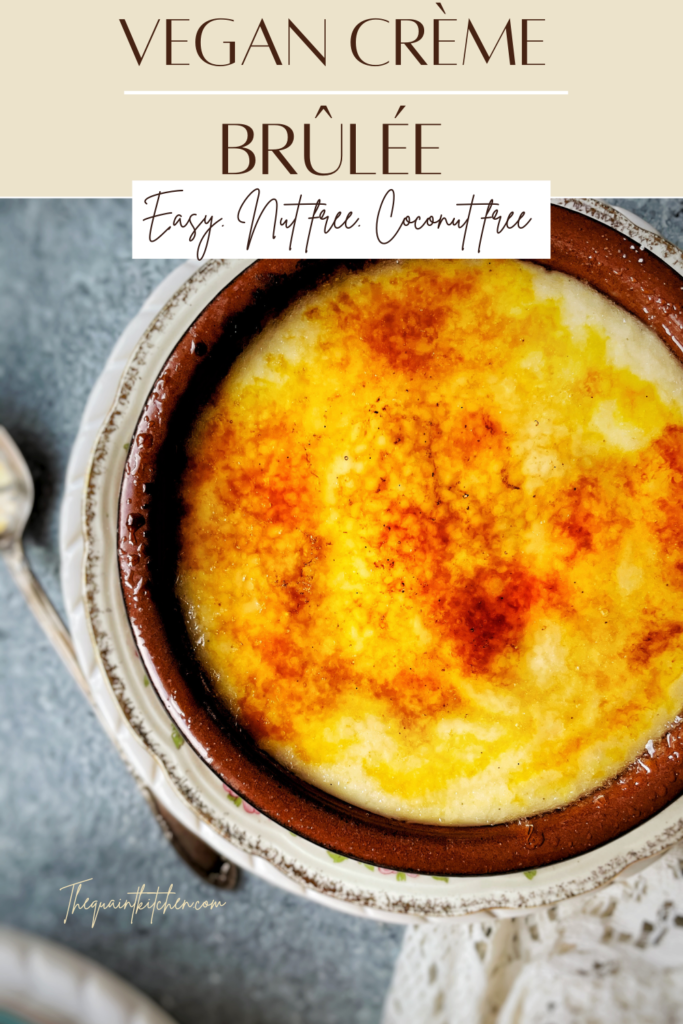
Vegan Crème Brûlée
Vegan crème brûlée. There are a lot of recipes for it, but I really wanted to make one that doesn’t rely on coconut milk to make it rich. Simply because I’m sick of most vegan desserts tasting like coconut. It’s the go-to substitute when you need a creamy texture, a thick texture, whipped cream, and the list goes on. So my goal was to make a creamy, delicious and vanilla-forward vegan crème brûlée without coconut!
I stuck with simple ingredients for this recipe, but if you want to upgrade it, I’ll give you some substitutions below so you have the option to make it even better! But even without them, you’ll still get a delectable vegan crème bûlée in the end. Plus, this recipe happens to be nut-free too! No cashew blending needed, or any blending for that matter. Hooray!
Crème caramel vs. crème brûlée
This recipe is very similar to the vegan crème caramel one. Wherein it’s a pastry cream-like recipe but modified to mimic the texture of crème caramel, or in this case crème brûlée.
What’s the difference? Well in the case of crème caramel, the caramel is poured at the bottom of the ramekin and baked with the custard so it soaks into it, whereas crème brûlée is just a baked custard topped with sugar that then gets caramelized for a crunchy caramel top. They both are traditionally egg/egg yolk based custards that are then baked in a water bath in the oven, but the vegan versions are much simpler! No oven baking required.
I went off the crème caramel recipe, but removed the tapioca starch since I didn’t need this recipe to be wobbly. And since I wasn’t using coconut milk for fat, I added vegan butter to add richness. Then it was just a matter of finding the right balance of cornstarch and butter to get the right texture without it being too set or greasy.
The ingredients you’ll need to make this vegan crème brûlée
Plant milk. I recommend using something creamy like soy or oat. *Possible substitution here is to use a vegan cream (30% fat or more) if you have access to it and leave out the vegan butter. Something like Silk heavy cream or Becel vegan cream. This will add richness and fat to give you a super creamy and luscious crème brûlée. You could also use a richer milk like Oatly barista for an in-between, in that case I would still use the vegan butter.
Vanilla. The most important component (flavour-wise) in a crème brûlée! You can use vanilla extract (the good stuff!) but I highly recommend using at least vanilla bean paste if not a vanilla pod. The difference the full vanilla bean makes is truly worth it if you want to go all out. It’s what will make your crème brûlée taste like the ones you remember! You could even infuse the pod along with the scraped seeds in the milk for as much flavour as possible.
Sugar. I used a mix of brown sugar and white sugar just for extra flavour. You could replace the brown sugar with maple syrup if you want a slight maple flavour! You’ll aslo need some white sugar for the caramelized top.
Cornstarch. This is what makes the custard set. It took quite a few tries to get the right balance between set but still creamy! I haven’t tried using another starch in the recipe so I would stick with cornstarch.
Nutritional yeast. This is optional, especially if you use a vegan butter that has quite a bit of flavour. But I find it adds a certain something you might get from eggs. You won’t detect it at all in the finished product, it’s really just for a more “complete” flavour profile.
Turmeric. This is also optional, it’s simply for colour. Just a pinch is enough to mimic the hue that egg yolks usually give the crème brûlée.
Salt. Very important in any kind of baking! It balances the sweetness and complements the flavours. I always use table salt for baking since it’s easily accessible.
Vegan butter. You can use homemade or store-bought, both will work. This is what gives the custard richness in place of the coconut milk. But as mentioned, if you use some kind of vegan heavy cream, you can leave it out.
How to make vegan crème brûlée
As I mentioned, it’s basically like making pastry cream, and it can be done in under 30 minutes! Aside from the setting time that is. In a saucepan, pour the milk or cream and your vanilla extract, paste or scraped pod and seeds. You can optionally bring the milk to a simmer, turn off the heat and let the vanilla pod infuse for 30 minutes before continuing.
In a small bowl whisk together the sugars, cornstarch, nutritional yeast, salt and turmeric. Add a bit of milk to it and whisk until you get a smooth paste. Then add that paste back into the saucepan, turn on the heat and whisk until the mixture thickens. Once it’s thickened, stir in the butter off the heat and voilà!
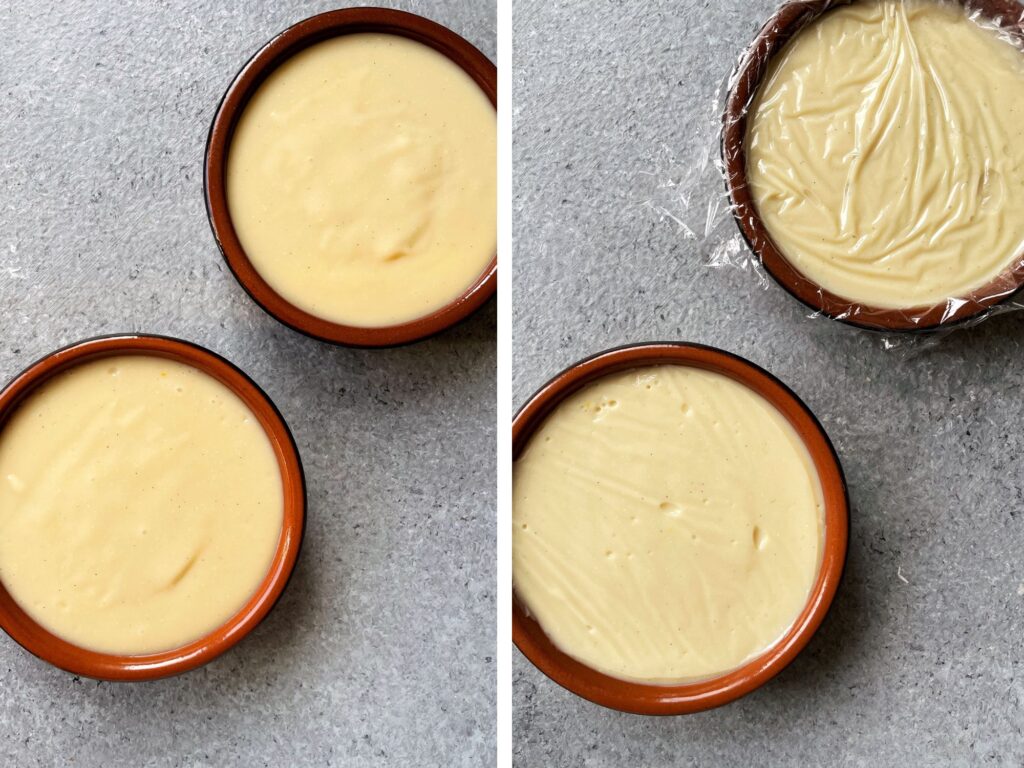
Pour the custard into your ramekins and refrigerate for at least 4 hours or overnight. If you’re leaving it overnight, cover with plastic wrap directly on the surface to prevent a skin from forming.
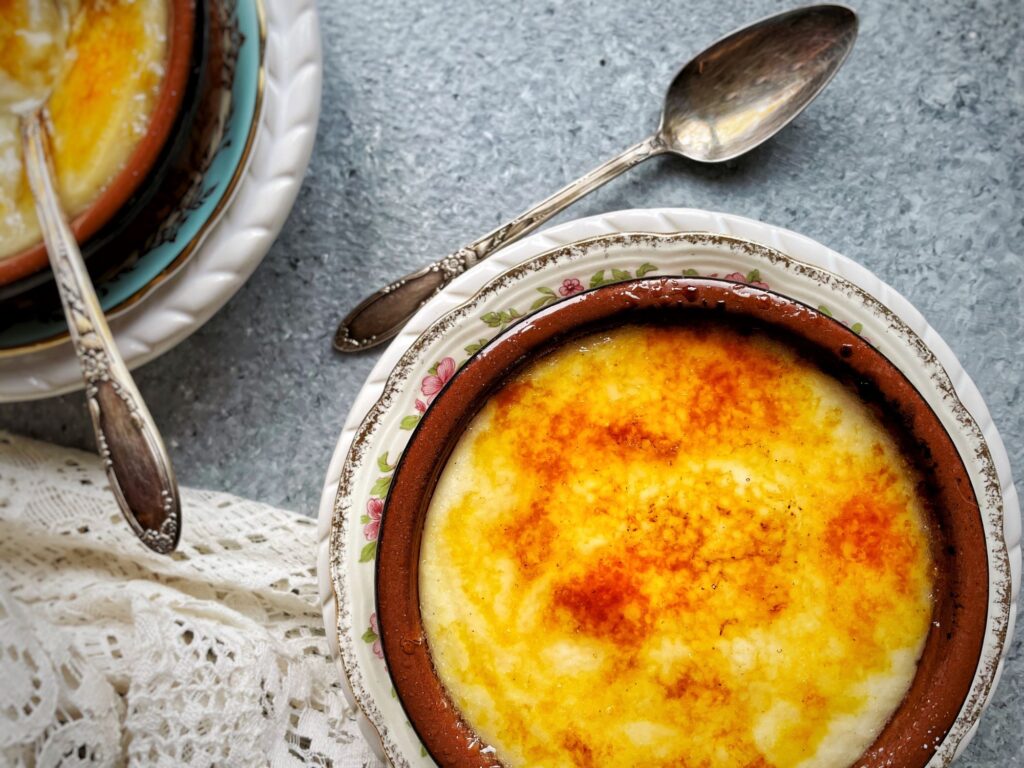
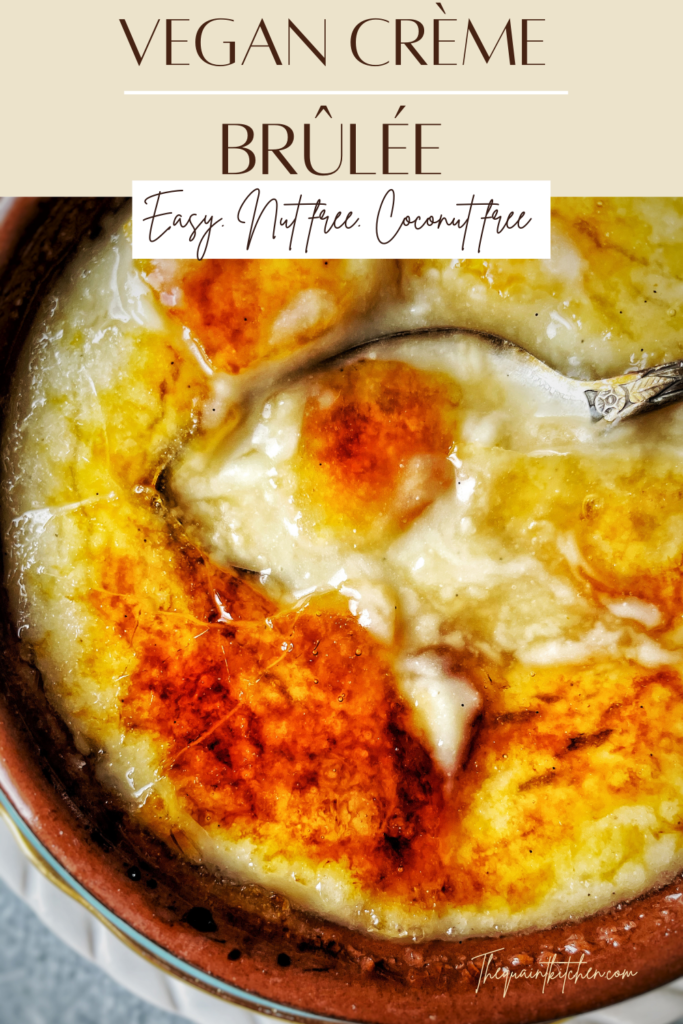
How to get the caramelized top
Once the crème brûlée has set, sprinkle some white sugar on top in a thin layer to cover the surface. Then blowtorch the sugar until it melts and caramelizes, always keeping the flame moving to avoid scorching one spot.
My favourite method by far is using a blow torch (I specifically use this one which also has an adjustable flame!). Another method is placing the crème brûlée with the sugar sprinkled on top under the broiler to melt it and caramelize it. I don’t recommend doing that as the custard will become warm and soupy by the time the sugar melts and caramelizes. And placing it in the fridge to set back up would soften the crunchy caramel layer.
If you don’t have a blow torch, I would recommend placing some white sugar in a pan and caramelizing in on your stovetop. Once it becomes a dark amber colour, pour it over your cold crème brûlée and swirl the ramekin to evenly coat the top. Just let it set a few seconds to harden then enjoy! It’ll give you a smoother and more glassy layer of caramel but it achieves the same crunchy result!
How to store crème brûlée and how long does it last
The ramekins of custard themselves will keep about 4 days in the fridge covered with plastic wrap directly on the surface. So this is an easy make-ahead dessert for parties and dinners!
Once the sugar on top has been caramelized, the crème brûlée needs to be consumed in the following 10 to 15 minutes, after that the crunchy caramel layer will start to dissolve and soften.
If you make this recipe please let me know in the comments! All feedback is very much appreciated and I would love to hear from you! You can also tag me on instagram @the.quaint.kitchen or use the hashtag #thequaintkitchen to share your creations!
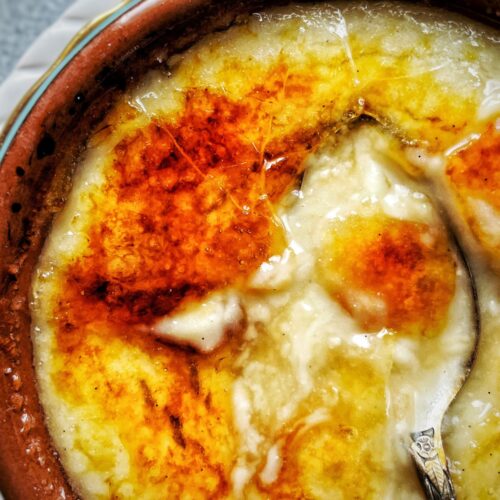
Vegan Crème Brûlée
Ingredients
- 270 g plant based milk*, use something creamy like soy, oat or even barista milk
- ½-1 scraped vanilla bean, or 2 tsp vanilla bean paste or vanilla extract
- 14 g cornstarch
- 30 g white granulated sugar
- 10 g brown sugar
- 1 tsp nutritional yeast
- pinch of salt
- pinch of turmeric
- 30 g vegan butter
Instructions
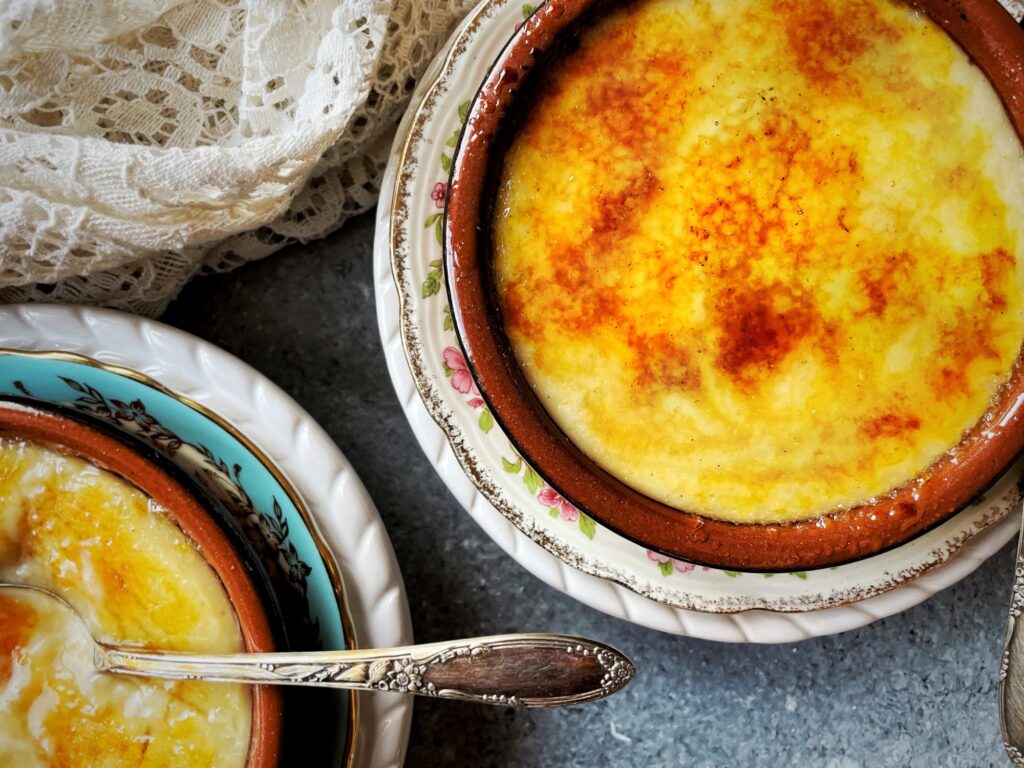
- Have 2 4-oz ramekins ready. I like the ones that are shallow and wide for this recipe rather than the ones that are deeper because it gives you more surface area for the crunchy caramel top! But use whatever you have.
- Pour the milk and vanilla into a small saucepan. *Optional: if using a vanilla bean, scrape the seeds out and stir them into the milk along with the scraped bean. Bring to a simmer, turn off the heat, cover and let infuse for 30 minutes, then pull out the scraped bean and proceed with the recipe.
- In a small bowl, whisk together the cornstarch, sugars, nutritional yeast, salt and turmeric. Then whisk in about 1 tbsp of the milk until no lumps remain, and pour it all into the saucepan.
- Place over medium heat and stir constantly until it thickens. If you stop stirring for a few seconds it should bubble. Turn off the heat and whisk in the butter until completely melted and smooth. Then pour it into the ramekins.
- Cover the surface with cling film if you’re leaving them in longer than 4 hours to prevent a skin from forming, and place them in the fridge to set (at least 4 hours).
- Once the custards have set, evenly sprinkle about 1 tbsp of white sugar on each and use a blow torch to caramelize the sugar. Keep it moving to avoid scorching one spot.
- If you don’t have a blow torch, make a caramel in a saucepan.In a (very) small saucepan, combine some white sugar (a bit more than 1 tbsp per ramekin) and just enough water to cover it, place it on medium heat. Cook it until it’s a deep amber colour without stirring. Just swirl the pan occasionally if you see that it’s colouring unevenly. It’s a small quantity so it’ll happen fast, don’t walk away from it. And please be careful when working with caramel as it gets very hot.Once it’s a deep amber colour, take it off the heat immediately and pour about 1 tbsp worth of caramel over the custard, swirl immediately to coat the whole surface, and set aside to cool and harden.*To clean the saucepan, simply fill it with water and bring it to a boil to dissolve any bits of caramel left.
Notes
- I strongly suggest making recipes by weight, if you make them by cups I can’t guarantee that you’ll get the same results.
- *You can replace the milk with vegan heavy cream (30% fat at least) like Silk or Becel and leave out the vegan butter. That way the richness comes from the cream and will give you a rich and luscious crème brûlée.
Really good, not too difficult recipe. The taste was perfect!! I was a bit sceptic about the nutritional yeast but it really tasted “eggy”, amazing! It wasn’t really set though (left it in the fridge for 6 hours) so next time I’m gonna leave it in the fridge overnight.
Thank you for your comment Mette, I’m so happy you enjoyed it! Yeah I know the nutritional yeast sounds weird, glad you still gave it a shot ☺️ As for the texture, overnight does help, but it could also just be that the mixture didn’t boil enough!
Absolutely loved this recipe! Thank you so much for sharing a simple and delicious dessert!
Yay so happy you liked it Shell! It’s my pleasure, thank you so much for your kind comment 😊