
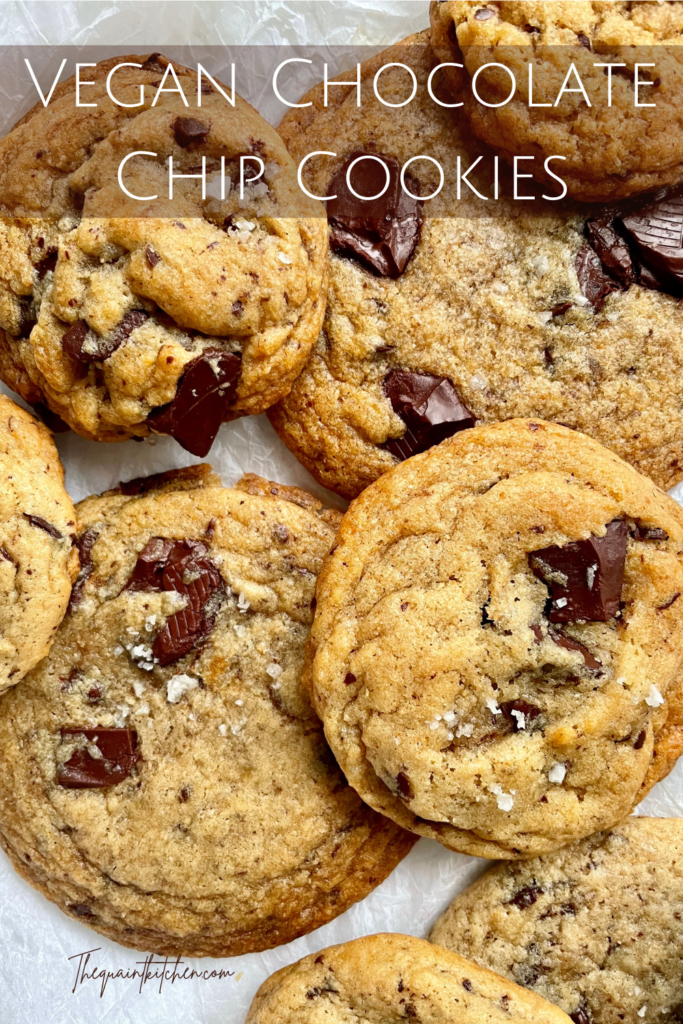
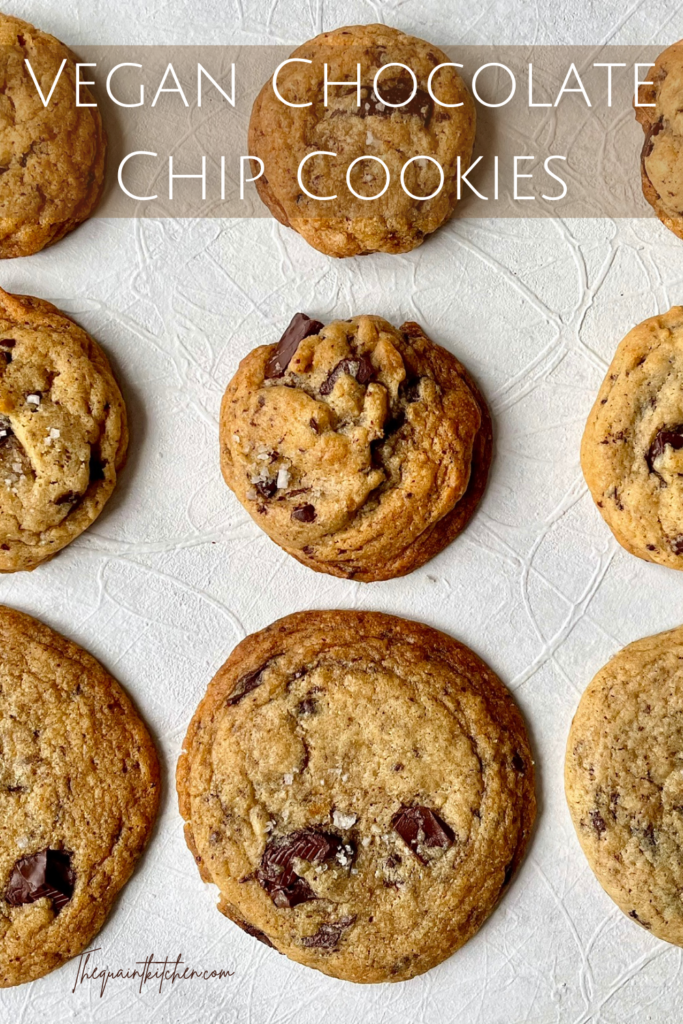
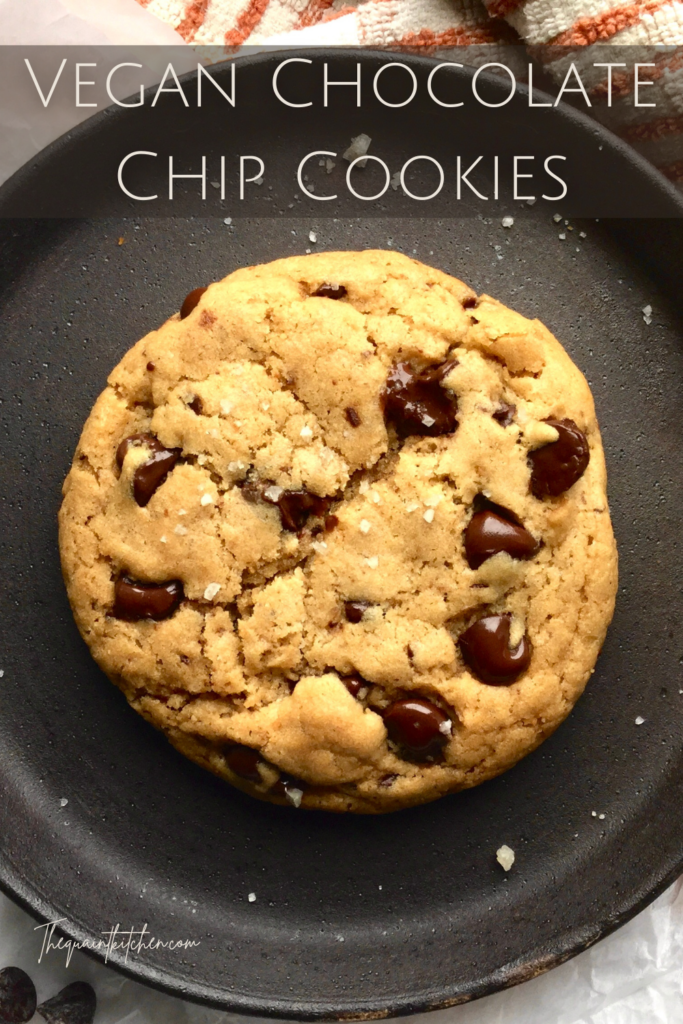
Vegan Chocolate Chip Cookies

*Note: This is a repost of the recipe for vegan chocolate chip cookies I first posted when I started the blog. The recipe is the same but I’ve added more pictures and information on possible modifications and how they affect the outcome to help you adjust it to your liking!*
Now let’s be real, the internet is absolutely SATURATED with chocolate chip cookie recipes. Whether it’s easy, chewy, crispy, cakey, thick, thin or vegan chocolate chip cookies. They’re everywhere. And yet, I’m adding mine to the mix.
I think everyone looks for something specific in their cookie, which is why I’m guessing there’s so many variations to it. So whenever I try one, it never seems to be quite what I’m looking for. It’s either lacking flavour, too sweet to compensate for that, barely spreads, or spreads too much (my oven might be to blame for that but that’s a whole other problem). Finally, I decided that the search for my go-to recipe would end faster if I simply made my own instead. Hence why I’m adding mine to the mix.
As I mentioned before, everyone has their own definition of the “perfect” or “best” chocolate chip cookie. It’s a heated debate topic. So I’m not expecting this version to please everybody. Which is why I try to avoid labeling things the “best” or “perfect” version of anything. Someone’s best food/dessert is someone else’s mediocre one, and there can always be a better version of anything because there’s no such thing as perfection! So, now that that’s out of the way, let’s get to these vegan chocolate chip cookies shall we?
MY IDEAL VEGAN CHOCOLATE CHIP COOKIE
I wanted this cookie to be:
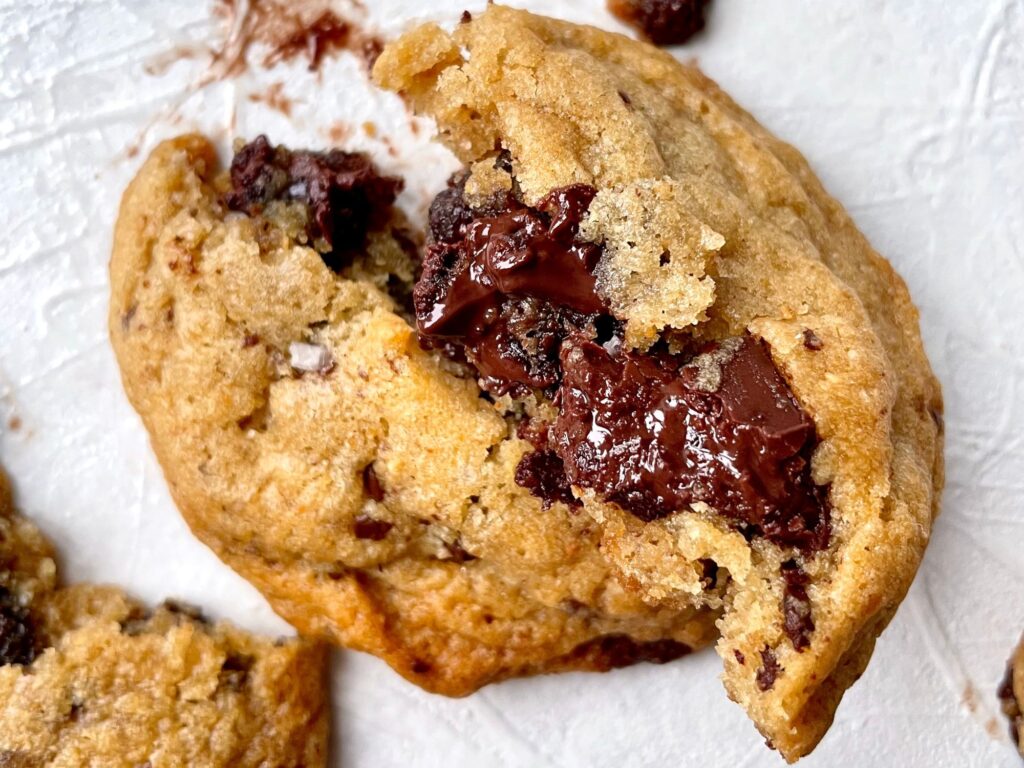
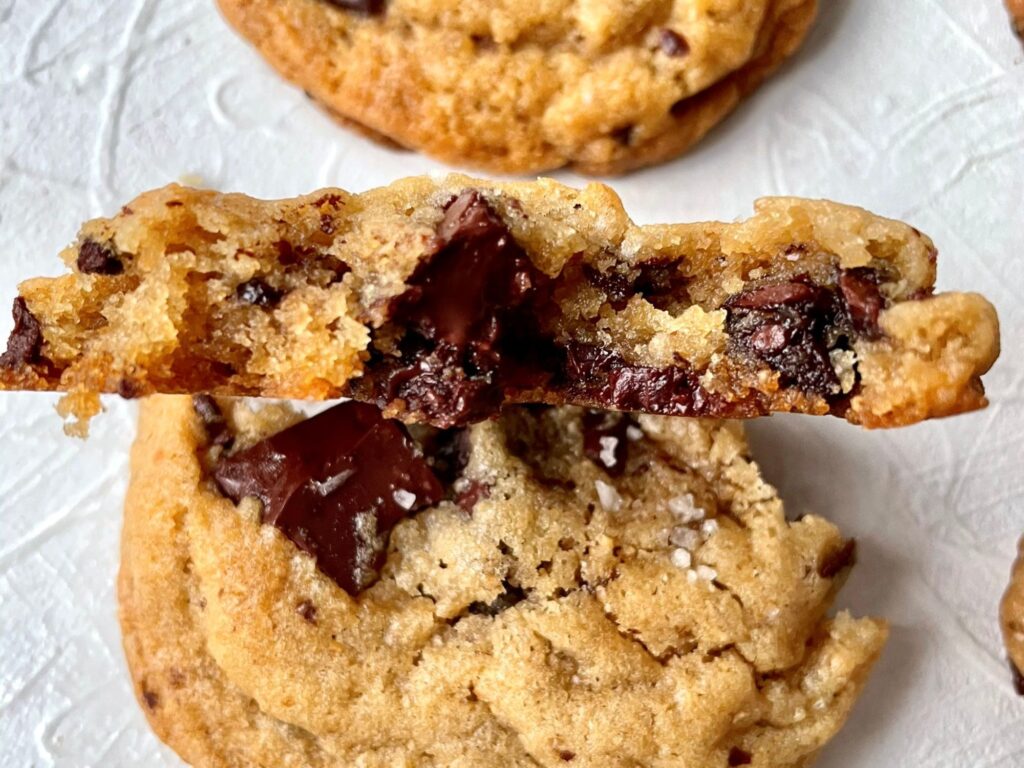
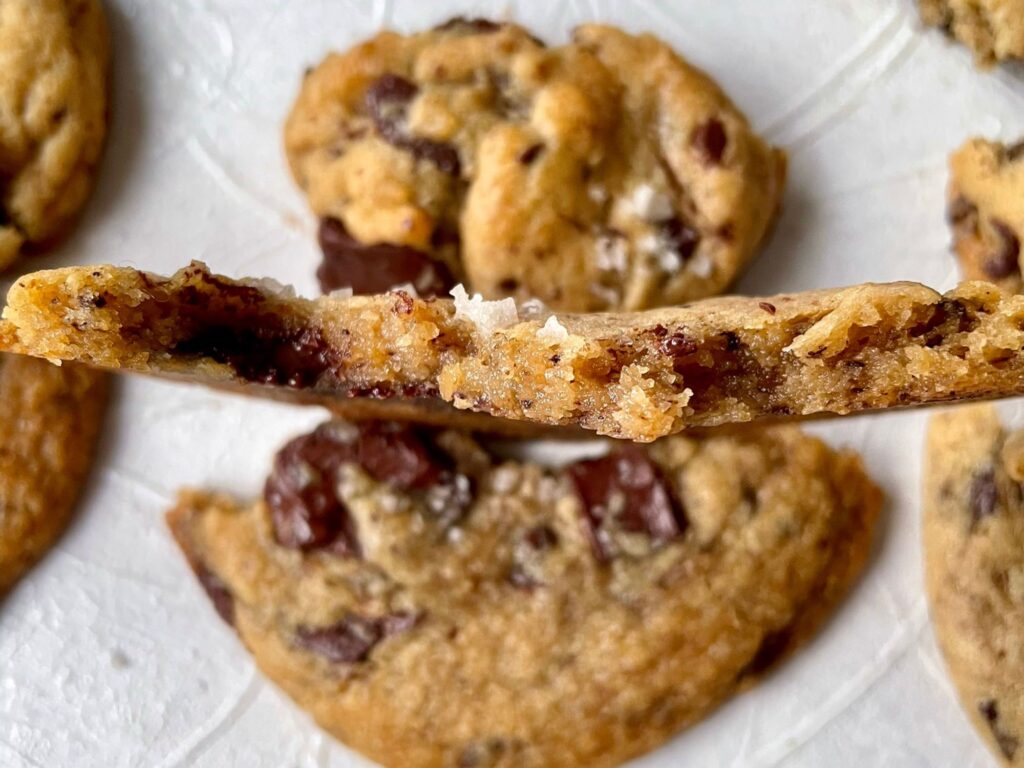
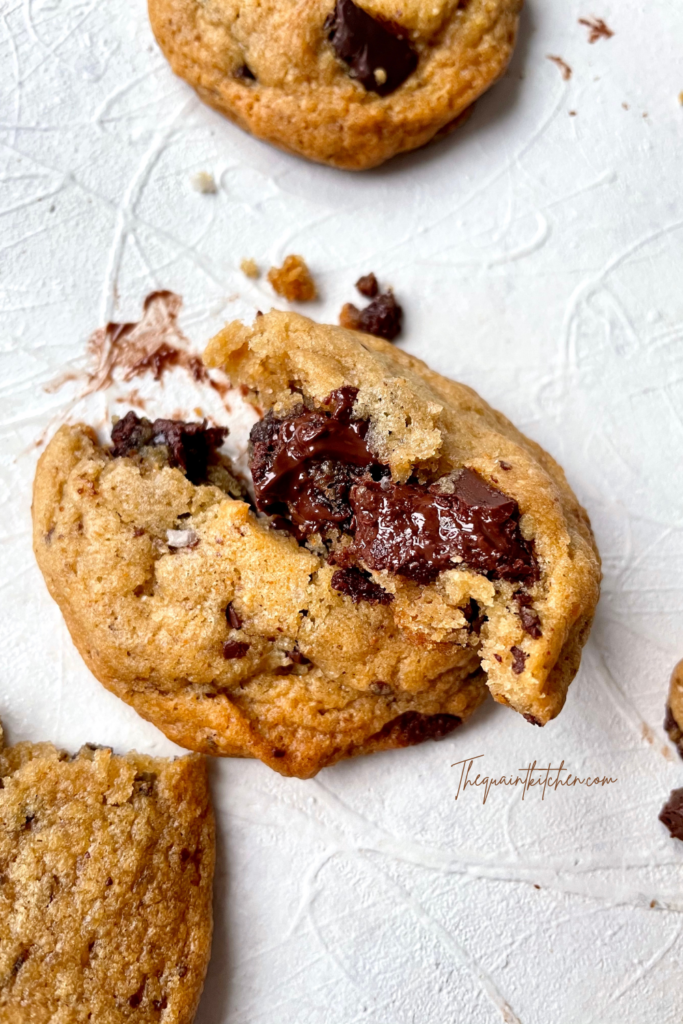
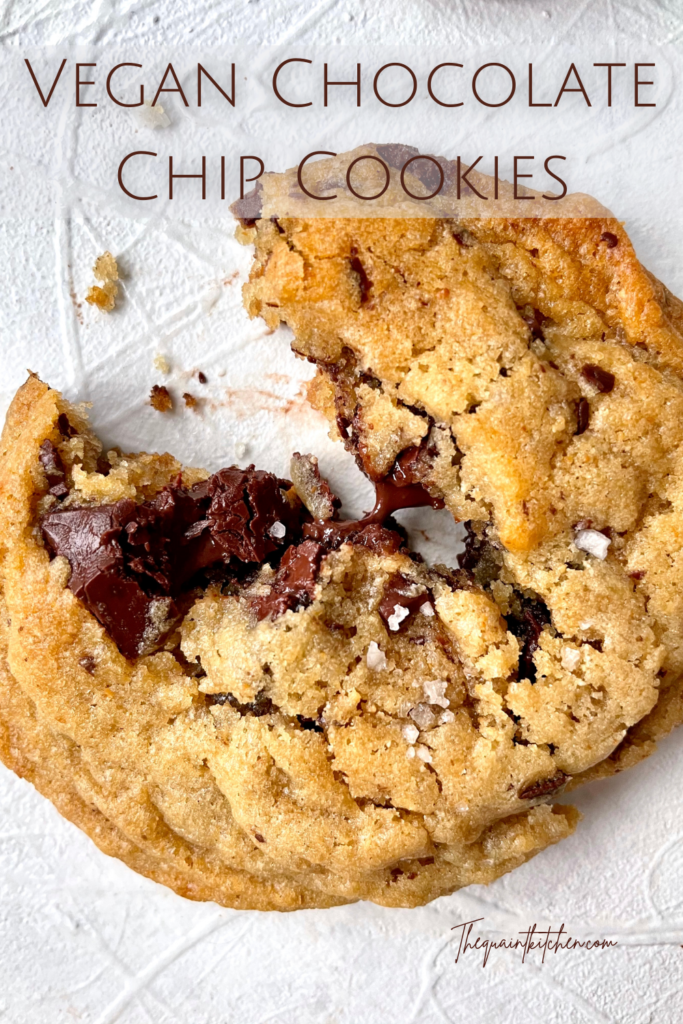
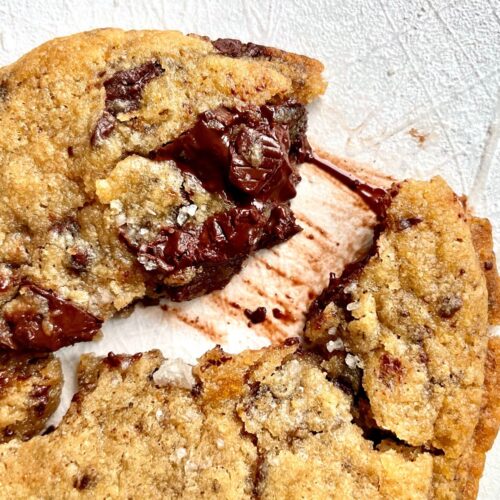
>Chewy and soft in the center with crisp edges, not cakey
>Not TOO chocolatey to be able to taste the delicious butterscotch-y/toffee notes of the actual cookie dough itself
>Slighty salted (because sugar, chocolate and salt is a match made in heaven)
>Have some depth of flavour (which vegan chocolate chip cookies can often lack since there’s no dairy butter/brown butter or richness from egg yolks)
>Spread nicely (i don’t want a ball of dry cookie nor a lace cookie)
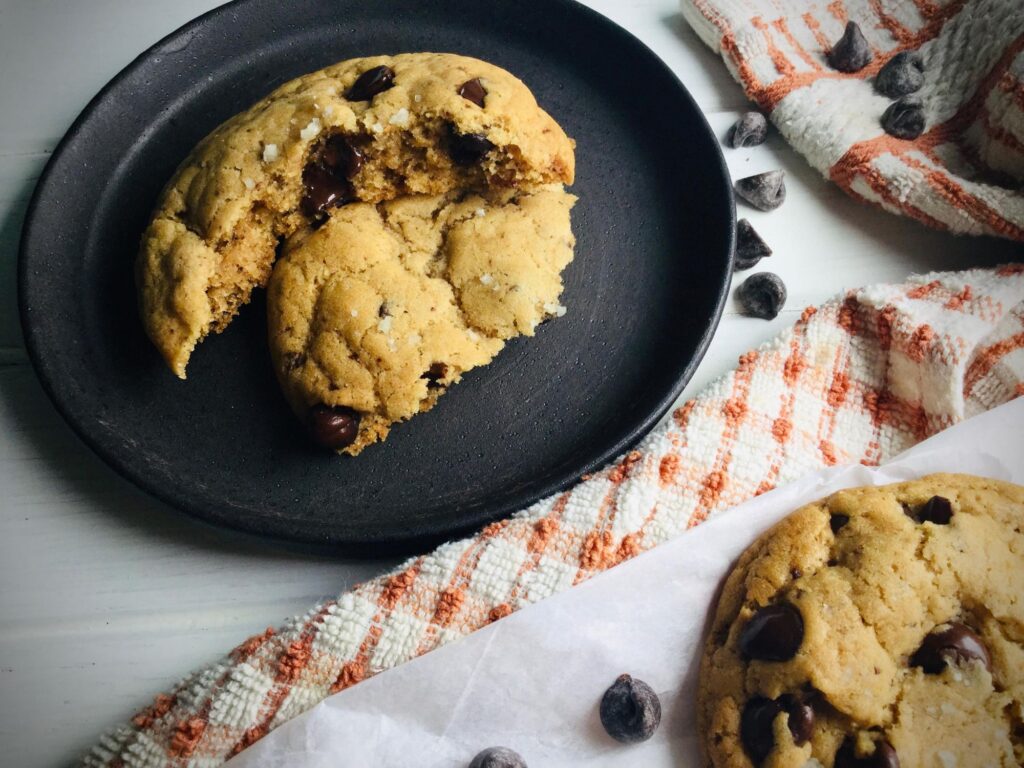
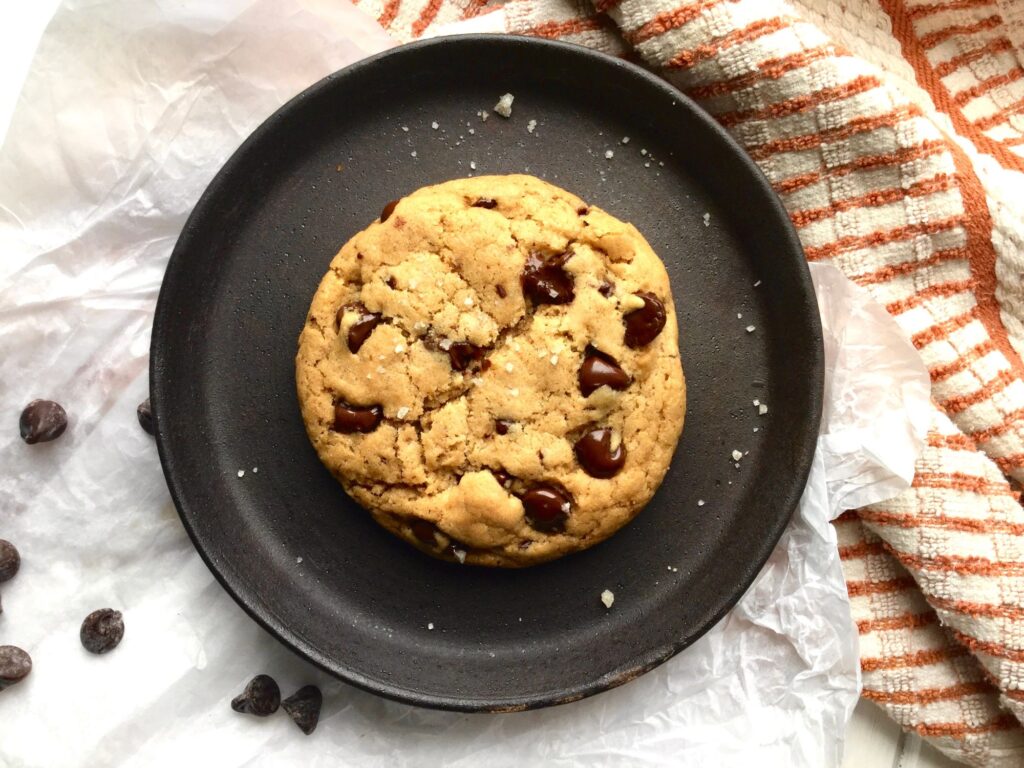
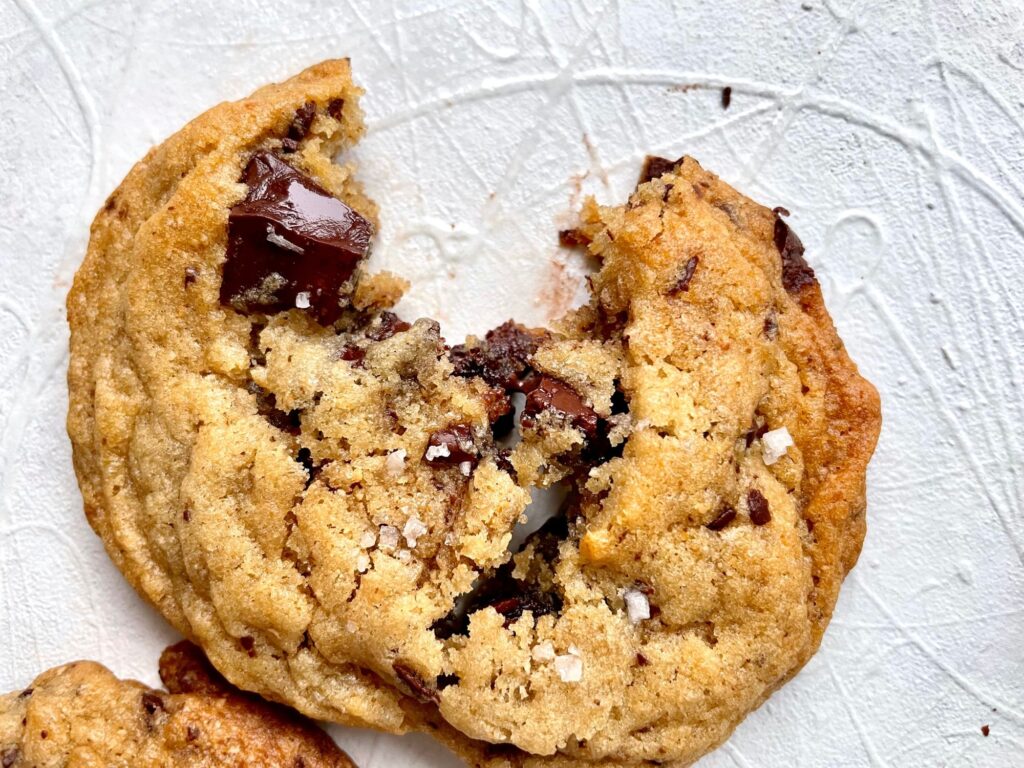
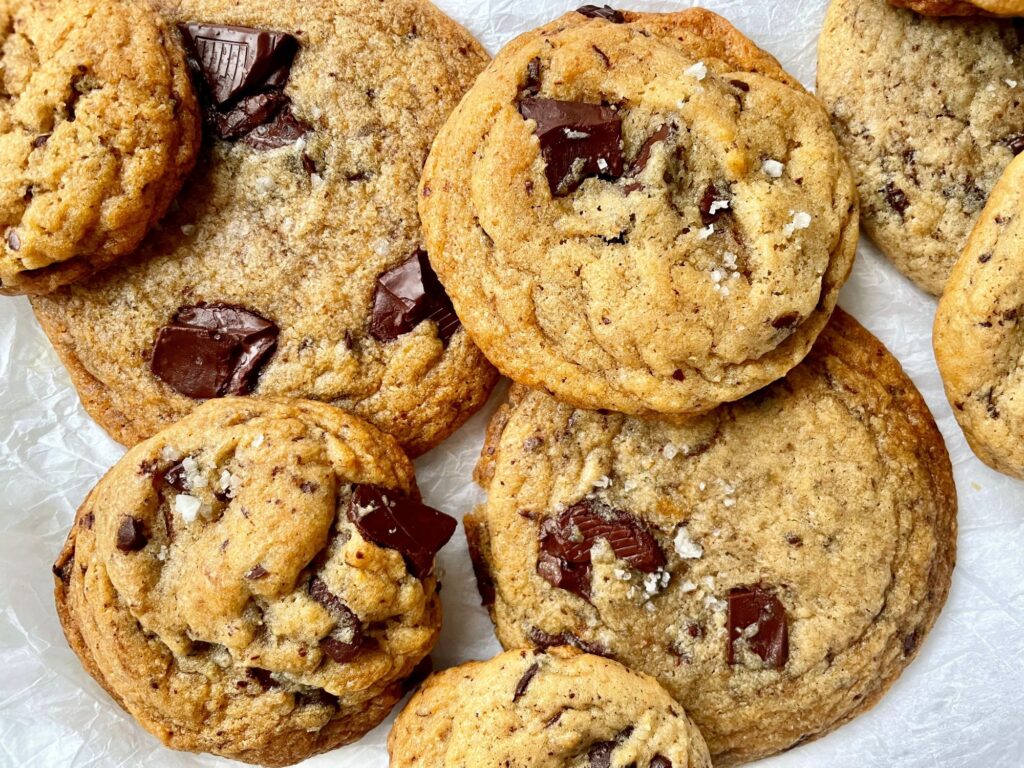
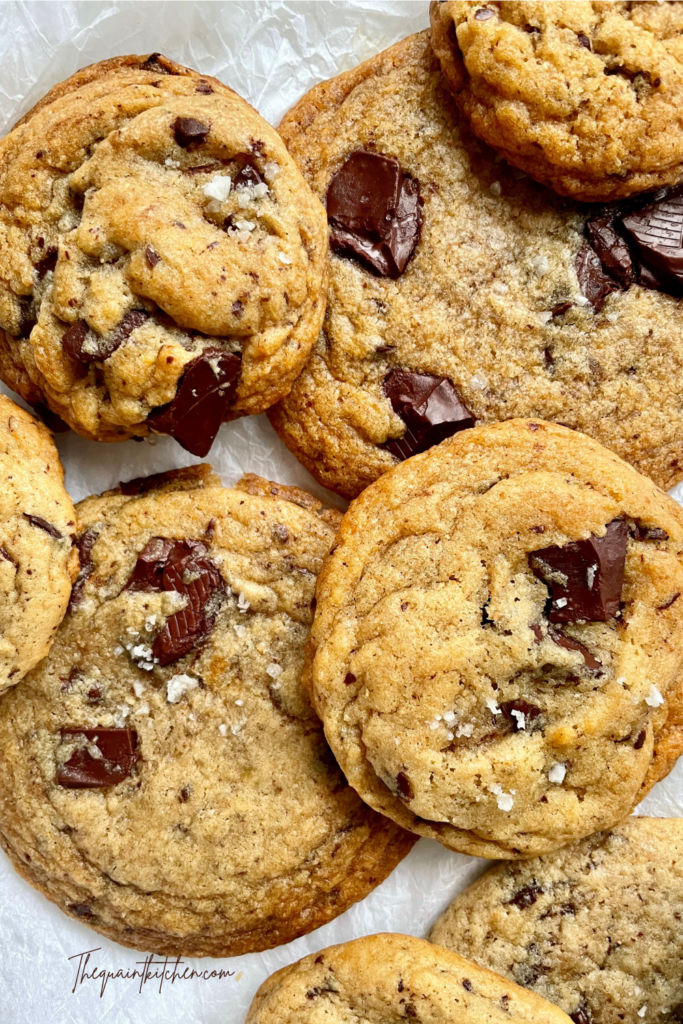
I’m happy to report that this recipe checked all those boxes for me! These cookies are soft in the center, crisp around the edges, flavourful, and have just the right amount of chocolate and salt. And depending on the baking method you go for, they can be thin and extra chewy, thick and gooey, or somewhere in between.
These chocolate chip cookies also don’t require any egg replacer like flaxseeds, chia, psyllium, or store-bought ones. They also don’t require any out-of-the-ordinary ingredients, just simple ones you probably already have in your pantry. Unless you consider almond powder out-of-the-ordinary, then there’s that.
The ingredients
The fat
Oil or vegan butter. I tested this recipe using vegetable/neutral oil, refined coconut oil and vegan butter (using this recipe). Each one obviously results in a different texture of dough and affects the way the cookie bakes, but each version is delicious!
The dough made with neutral oil and the one made with coconut oil are very similar initially, but as they rest/chill, the coconut oil one obviously becomes much firmer. Whereas the neutral oil one remains fairly the same, but still develops flavour. The one made with vegan butter falls somewhere in between in terms of texture.
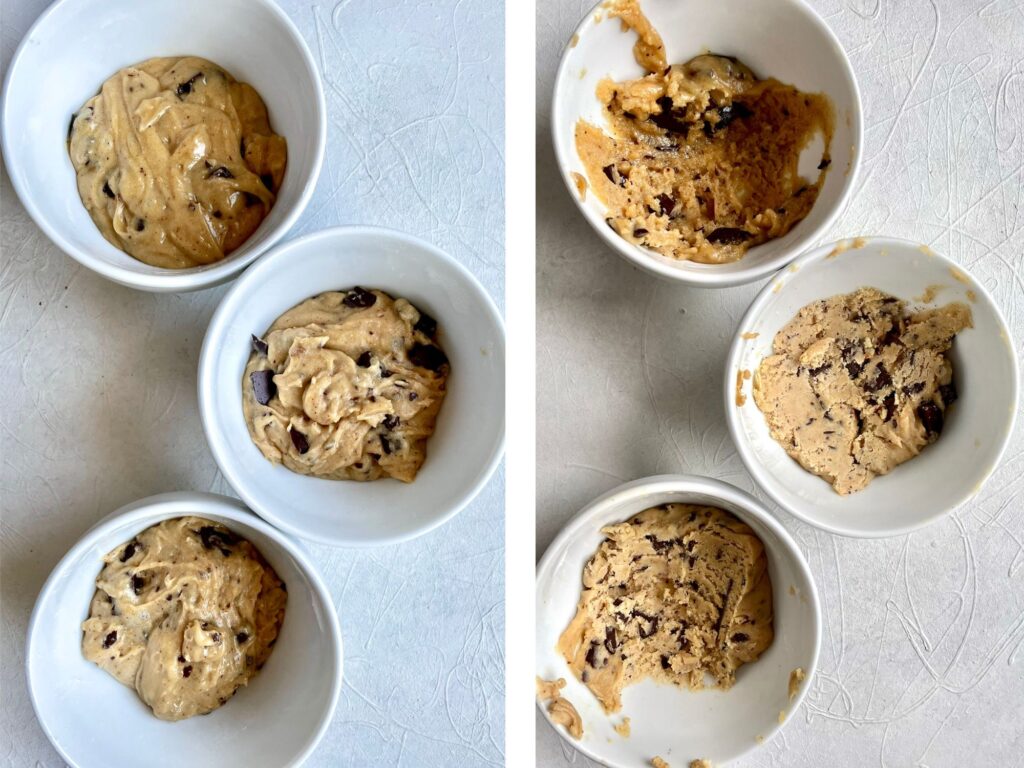
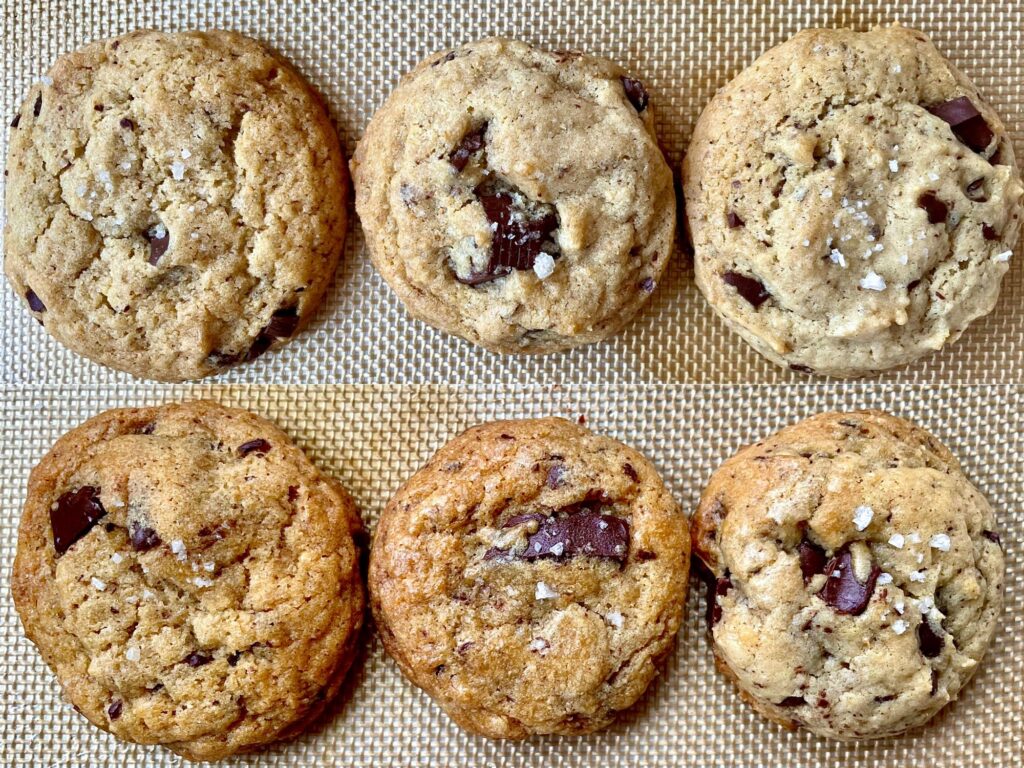
The main differences show when each dough bakes. The one that spreads more readily is the neutral oil one. Then comes the vegan butter one, then the one made with coconut oil which comes out the thickest. The neutral oil one also browns the most, whereas the one with vegan butter browns the least since it’s not pure fat.
In terms of flavour, they’re all pretty similar, but you do get a slight buttery flavour from the vegan butter one (duh). But since the neutral oil one browns the most, it also develops a bit more flavour. The differences aren’t considerable enough to purely recommend one type of fat, so the one you decide to use will mostly depend on the baking method you go for or what you have on hand. Either way you’ll have some vegan chocolate chip cookies to scarf down!
The rest of the wet ingredients
Sugar. There’s slightly more brown sugar than white sugar in these cookies. You’ll often see a 50/50 ratio but I quite like the flavour the extra brown sugar adds. It not only helps give a deeper flavour, but it also makes a moister, chewier, and slightly thicker cookie. Whereas white sugar has a flatter flavour but promotes spreading and crispness.
Cornstarch. This not only helps bind the cookie, it also yields an extra chewy one. I’ve also made this recipe with chickpea flour, which works just as well, but it makes the raw dough taste awful and I couldn’t have that, cookie dough is just too good. I haven’t tried replacing it with another starch, but I imagine arrowroot or potato would work just as well.
Almond powder. Now this is where the magic happens. Toasted almond powder adds a roundness and nuttiness you would usually get from butter or even brown butter, as America’s Test Kitchen greatly pointed out. It adds depth of flavour and amplifies the toffee notes of these chocolate chip cookies. Toasted hazelnut powder would do the same. Either way I definitely wouldn’t skip it! I do this for most cookie recipes (like the oatmeal ones or double chocolate ones) to add flavour.
Possible substitutions (keep in mind I haven’t tested these): almond butter or sunflower butter might work but they may affect the texture and spread of the cookie since they add extra fat. If possible, I would try sticking with powders such as kinako or ground up sunflower seeds (which has been tested by someone and works!).
Milk. Vegan milk obviously, since this is dairy free. I’ve tested it with soy milk, almond milk and cashew milk, but any plantbased milk will do. I imagine in a pinch even just some water would work!
Vanilla. Vanilla extract or paste will work, just go for a good quality one as this is another main flavour component in the cookies.
The dry ingredients
Flour. I use plain all-purpose flour, but part (or all) of it could in theory be replaced with bread flour for an extra chewy cookie. Since bread flour can produce more gluten, it’ll add more chew, but it might also affect the spread since the dough would hold together more. I haven’t tried making this recipe gluten free but a 1:1 gluten free flour blend could potentially work.
Baking soda. It helps the cookies spread and brown. This Serious Eats article by Stella Parks is really interesting if you want to know more about the effects baking soda has on cookies.
Baking powder. A bit more untraditional in a chocolate chip cookie since this part of the leavening usually comes from eggs. But since this is eggless, a little bit of baking powder fills that gap.
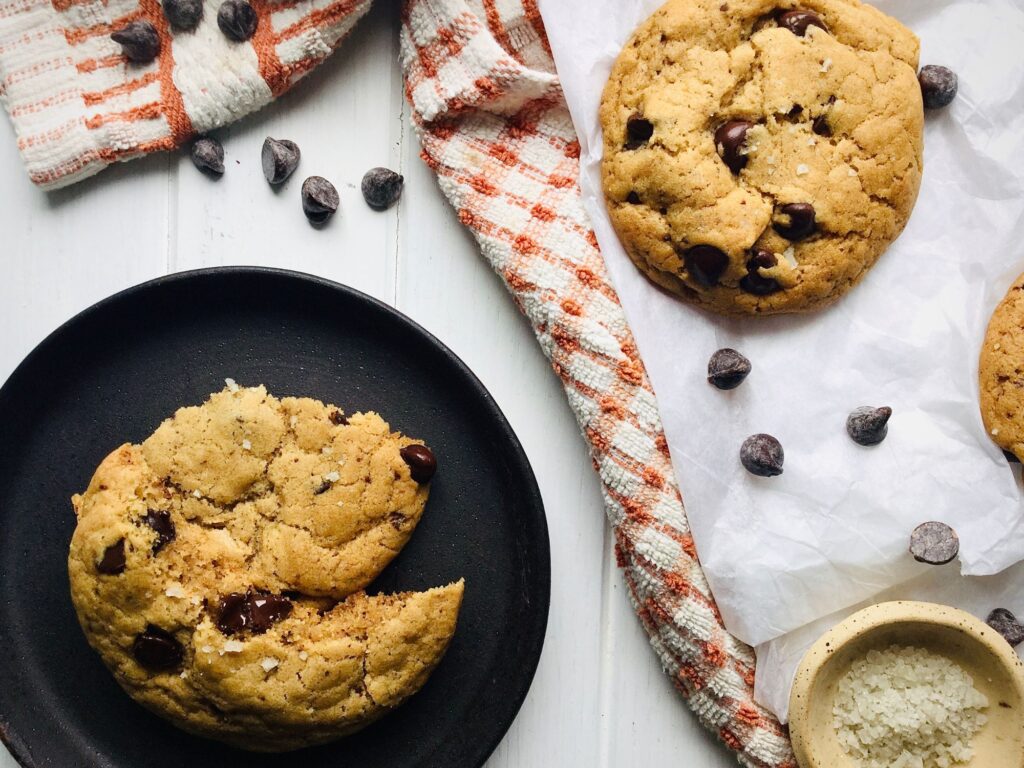
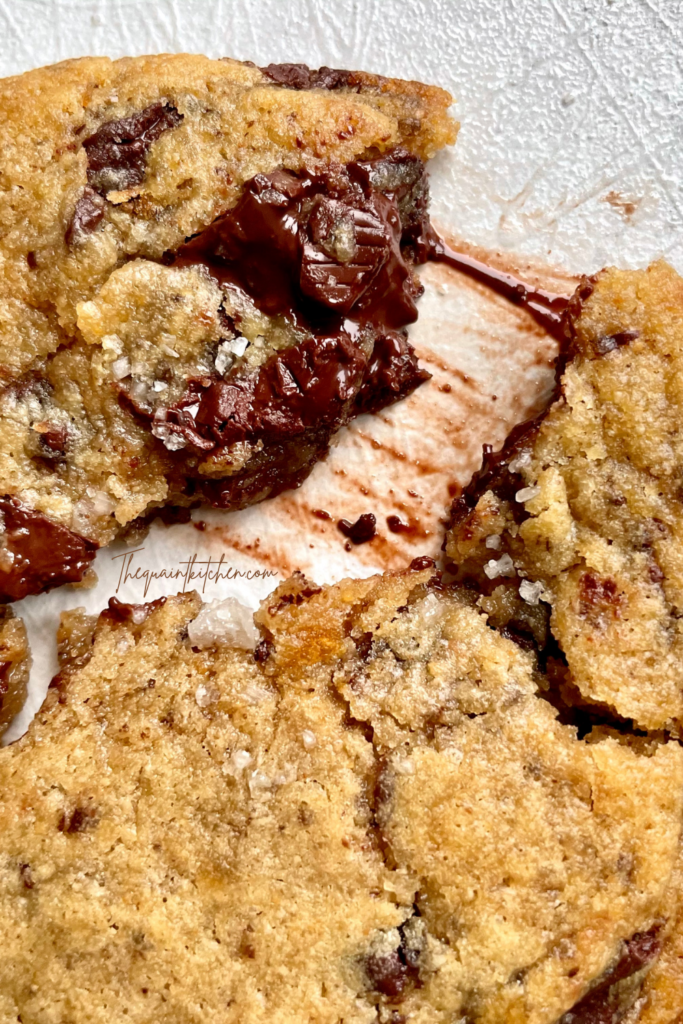
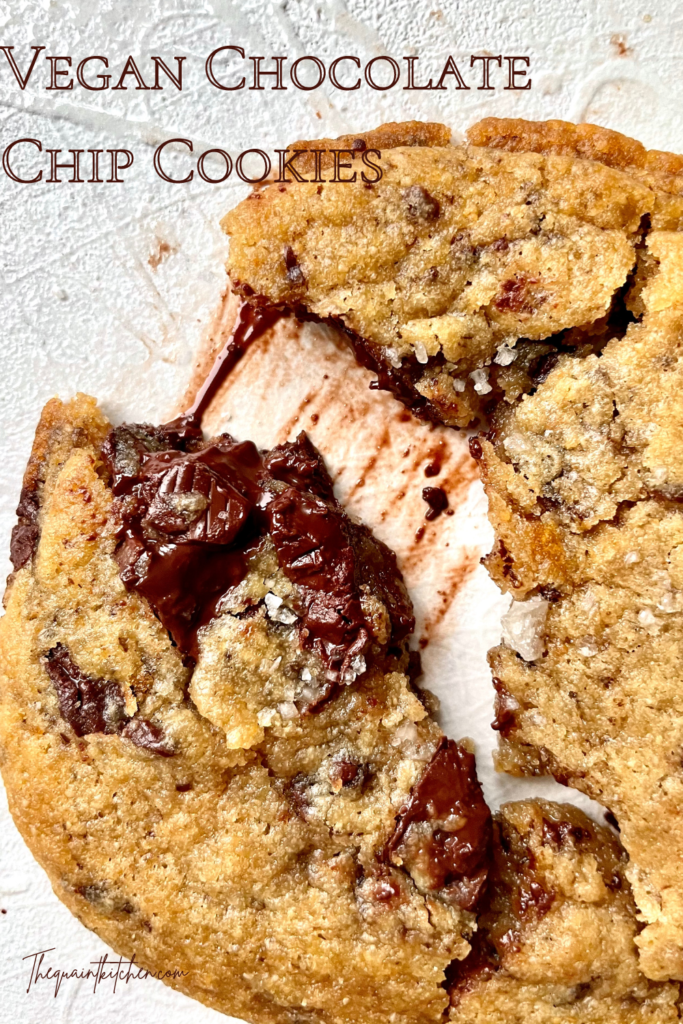
Salt. Very important in any kind of baking, but especially in some choc chip cookies. It balances the sweetness and complements the flavours. And an extra sprinkle on top ensures a little bit of salt with each bite of melted chocolate, which is just *chef’s kiss*. I always use table salt for baking, but for the top any coarse sea salt will do.
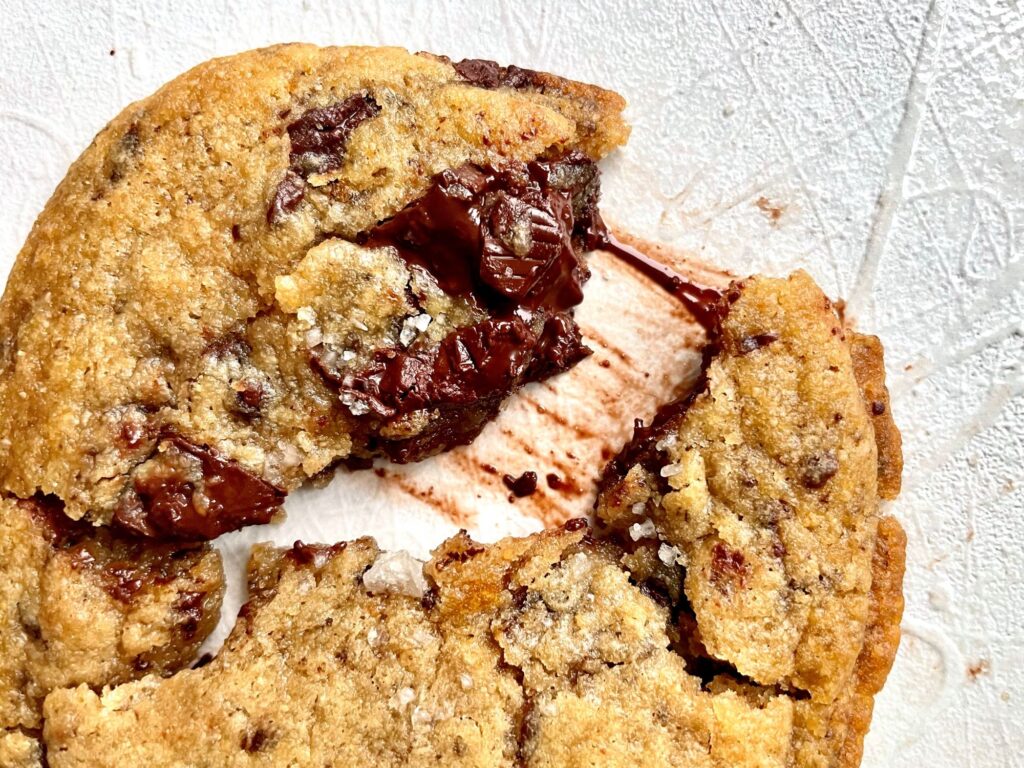
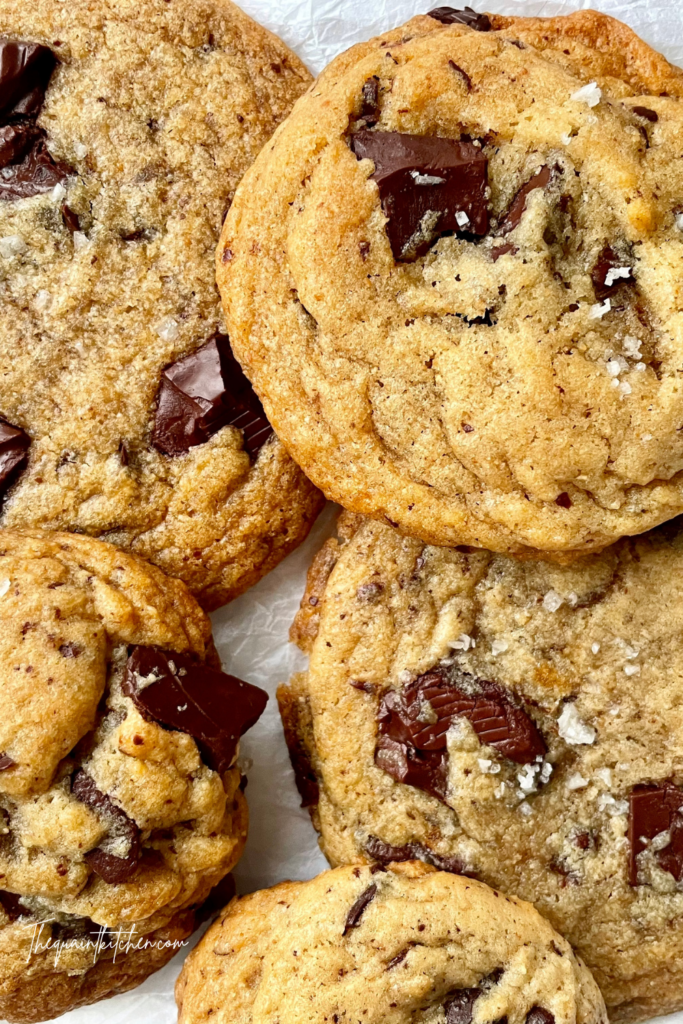
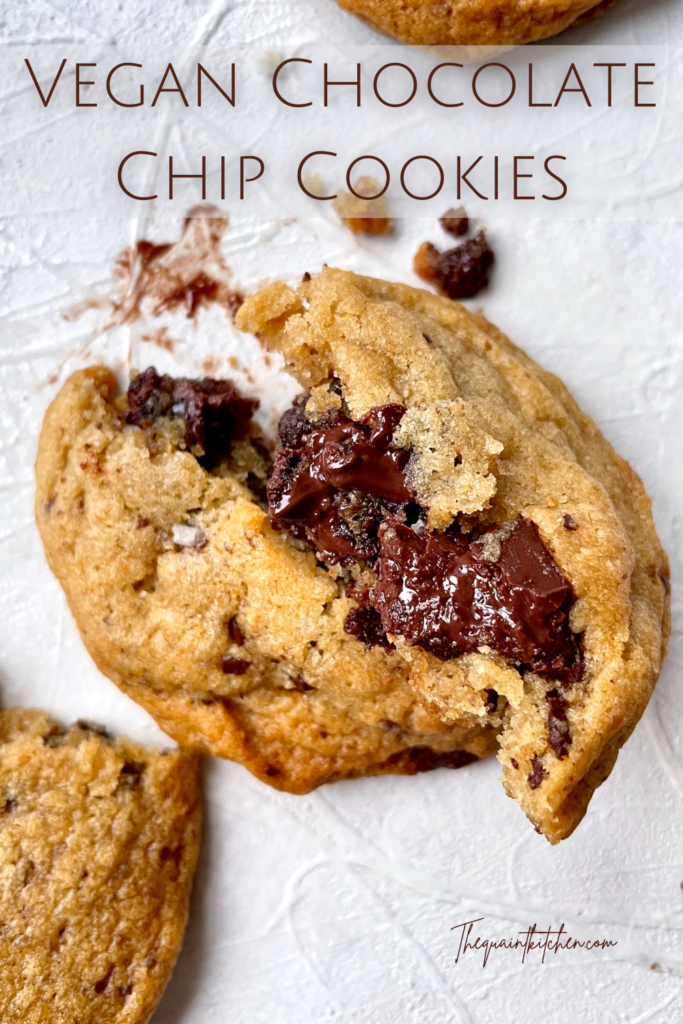
Chocolate. Dark chocolate (at least 55%) is my favourite for these cookies, but feel free to use vegan milk chocolate or a mix of both! Whether you go for chocolate chips or a chopped up chocolate bar is up to you. Chopped chocolate bars melt more easily and give you varying pockets of melted chocolate in your cookie. Whereas chocolate chips are made to hold their shape and give you the classic Tollhouse cookie look. You could even go for mini ones, why not!
Making this vegan chocolate chip cookie dough
This dough is very easy to make, the only extra step is toasting the almond powder, which you can do while preparing the other ingredients. The dough itself doesn’t require any special equipment, just 2 bowls and it’s all mixed by hand!
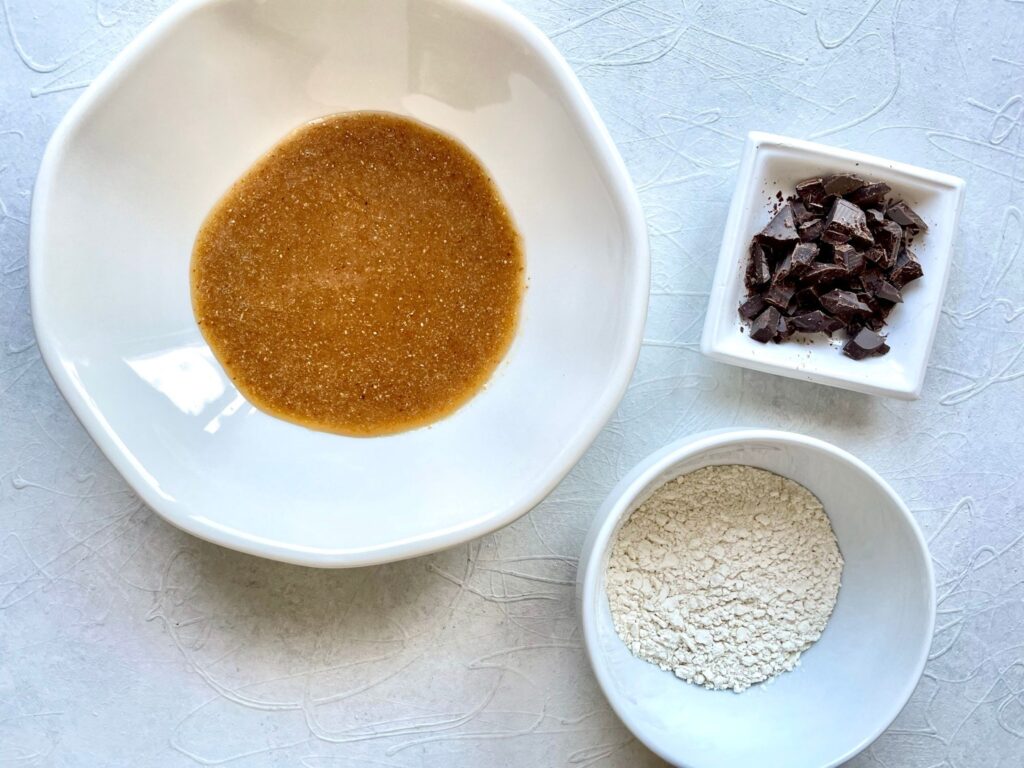
You can either toast the almond powder in the oven or on the stovetop. In the meantime mix the flour, baking soda, baking powder and salt together in a bowl. Once the almond powder is ready, transfer it to a bowl to cool just slightly before adding the fat, sugars, cornstarch, milk and vanilla to it and whisking until smooth.
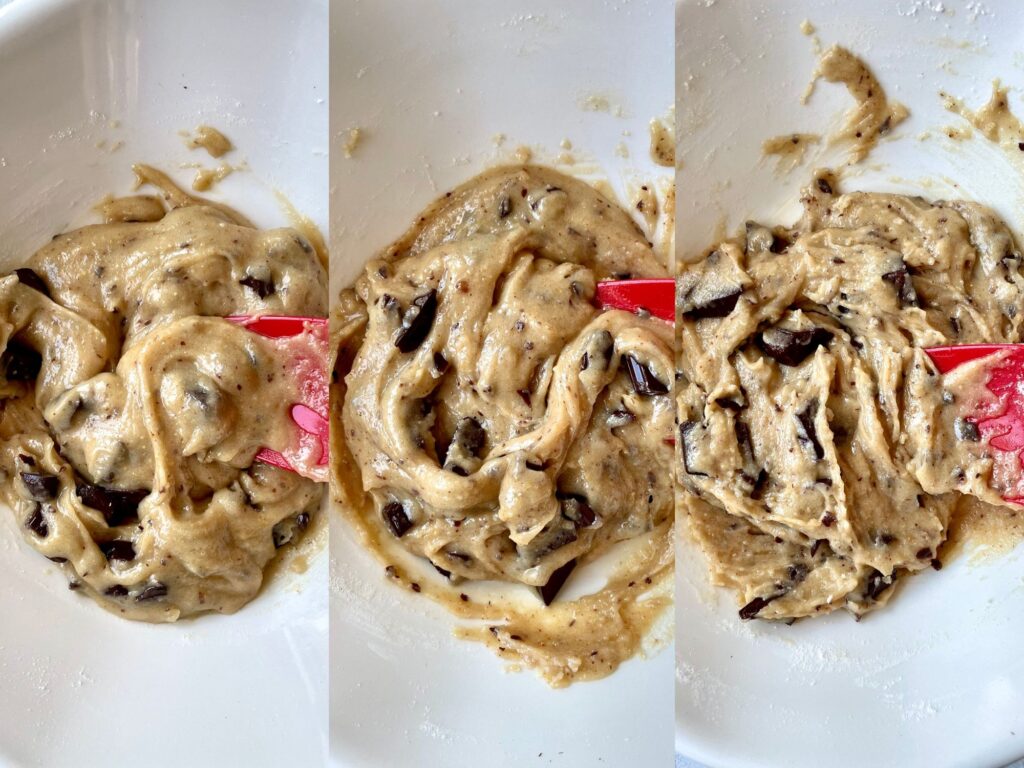
Add in the dry ingredients and chocolate chips or chopped chocolate and mix just until an even dough forms.
Chilling the dough
You’ve probably heard it time and time again, but chilling your dough really makes a huge difference in the flavour and texture of the final cookies. I know, I know, when you’re making cookies you usually want them NOW. But next time you make some, make a big batch, bake a few cookies to satisfy the craving and put the rest of the dough in the fridge for the next day. Best of both worlds!
Chilling them 24h (or just overnight) yields cookies that brown more, have more depth of flavour, are more moist and simply look better honestly. I tried chilling the dough for just a few hours and baking a few cookies, but they came out the same. So the dough needs at least an overnight chill.
Different ways of baking them
I landed on baking these at 165C/330F because it gives them the right amount of time to spread before setting. Baking them at 180C/350F made them set too fast and it made for a thicker cookie. Feel free to do that if that’s the kind of cookie you prefer though!
Then I mainly wanted to test the impact the size of the dough ball has and if pan-banging (Sarah Kieffer’s method) would make a better cookie.
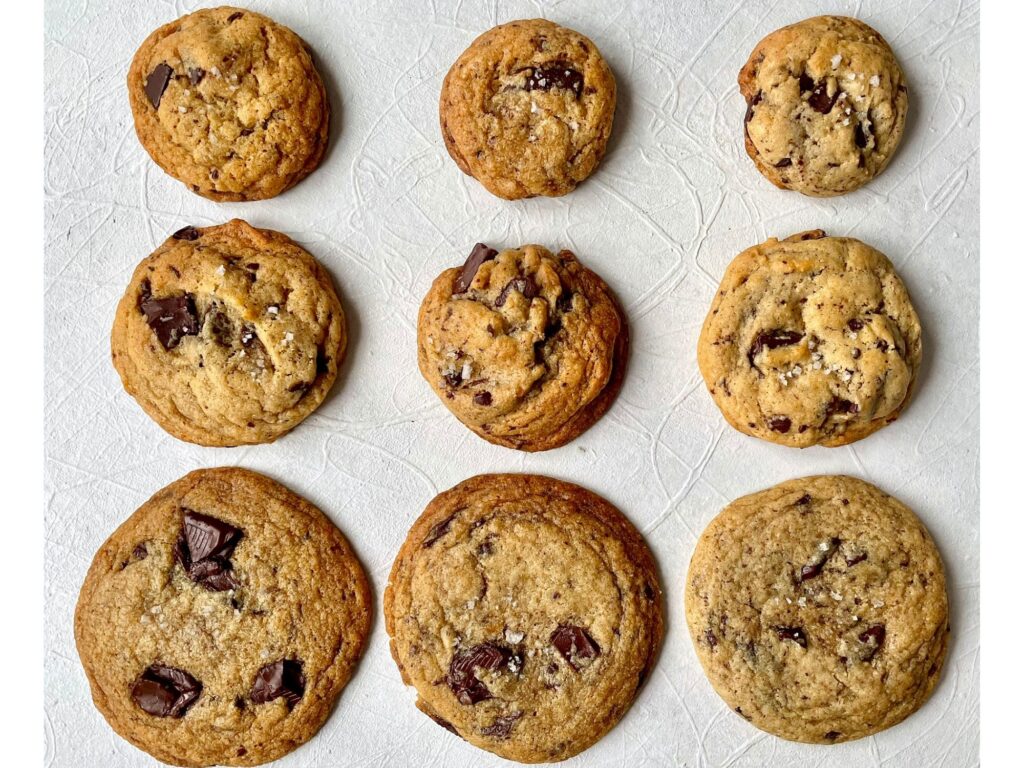
First of all, the size of the cookie dough ball makes a difference. The larger the cookie, the more contrast there is between the chewy and soft center and the crisp edge. A 1-1 1/2 tbsp sized ball of dough just makes a tiny puffed cookie because there’s not enough surface space for a large contrast in textures. Basically, larger cookies are better in every way.
Pan-banging method
As for pan-banging, it makes for a thin but ultra-chewy and gooey cookie. If you like your cookies on the thicker side, this method isn’t the best. But for a slightly rippled-edge and densely chewy cookie, this is great! It worked best with the coconut oil dough since it doesn’t spread as easily as the others, so it holds its shape (and therefore the ripples) better.
The method basically consists of banging the pan every few minutes during the bake time to flatten the cookie, promote spreading, and release trapped air. If you want to do this method, the coconut oil dough is definitely the best one for it, and don’t replace the all-purpose flour with any bread flour as that would prevent it from spreading as well.
If you want an in-between, you could just tap the pan once or twice during baking to flatten it slightly and get a chewier center without necessarily ending up with an ultra thin cookie. That would work no matter what kind of dough you end up making.
How to store or freeze these vegan chocolate chip cookies
The baked cookies will last up to a week in a closed container at room temperature. But they will dry out a bit. They’re best in the first 3 days. Especially the coconut oil or vegan butter cookies since the fat is solid and hardens even at room temperature. I recommend microwaving them just a bit to soften them back up and melt the chocolate a bit.
I don’t recommend freezing the baked cookies, but you can definitely freeze the cookie dough. Simply let the dough chill for 24 hours or overnight. Then scoop it into balls onto a lined tray that fits in your freezer and freeze them until solid. This will prevent them from sticking to eachother once they’re all together in a bag. Once they’re fozen, put them all in a tightly sealed bag and freeze them for up to 2 months.
You can bake them frozen the same way as fresh cookie dough, but they’ll be thicker since the outside will set before the frozen center has time to spread. So you could tap the pan a few times midway through baking the frozen dough balls so they spread a bit more. Alternatively, you could also let them thaw before baking them to get the same results as fresh cookie dough.
If you make this recipe please let me know in the comments! All feedback is very much appreciated and I would love to hear from you! You can also tag me on instagram @the.quaint.kitchen or use the hashtag #thequaintkitchen to share your creations!
Vegan Chocolate Chip Cookies
Ingredients
- 50 g neutral oil (grapeseed, canola, vegetable…), refined coconut oil or vegan butter (I use this recipe)
- 50 g brown sugar
- 40 g granulated white sugar, make sure it’s vegan
- 1/2 tbsp cornstarch
- 10 g almond powder, see notes for possible substitutions
- 45 g plant based milk
- 1/2 tsp vanilla extract
- 105 g all-purpose flour
- 1/2 tsp baking soda
- 1/4 tsp baking powder
- 1/4 tsp salt
- 70 g chopped dark chocolate bar or chips
- flaky salt or sea salt
Instructions
- I recommend letting the dough rest in the fridge for 24 hours or overnight for better flavour. But if you plan on baking them right away, go ahead and preheat your oven to 165°C/330°F and line a baking sheet with a silicone mat or parchment paper.
- In the meantime, in a small bowl, whisk together the flour, baking soda, baking powder and salt.
- Chop up the bar of chocolate into small pieces if that’s what you’re using.
- To the almond powder, add the oil, sugars, cornstarch, milk and vanilla and whisk all together until smooth.
- Add the flour mixture and chocolate to the wet ingredients and mix until an even cookie dough forms.
- I like slightly bigger cookies so I weigh them at about 60g, but if you like them smaller you can weigh them at around 40g (if you want to weigh them at all that is). Place them on the lined baking sheet with enough room in between for spreading.
- Sprinkle with the coarse salt, bake for about 12-15 minutes and leave them to cool on the baking sheet until they’ve set enough to move them to a wire rack.
- Pan-banging: Every minute of two during the bake time tap the pan on its rack in the oven a few times to promote spreading and rippling. You can also take the pan out to do this. You may need to add a few minutes to the bake time.You can also do it just once midway through baking and once when you take them out at the end if you don’t want your cookies so thin.
Notes
- *Disclaimer: I have a tiny not-so-great oven, so your bake time may vary from mine.
- I strongly suggest making recipes by weight, if you make them by cups I can’t guarantee that you’ll get the same results.
- The almond powder can be replaced with hazelnut powder, kinako or ground up sunflower seeds. Other possibilities are almond butter or sunflower butter, but those might affect spread and texture as they’ll add extra fat to the dough.
- The number of servings is for 60g cookies so if you make them at around 40g the recipe will yield 8 or 9 cookies.
This looks amazing! Quick question – is almond powder the same as almond flour?
Thanks Akhila! Yes they’re the same, almond flour might just be more finely ground but that doesn’t matter here 🙂
Wow! Subbed in coconut sugar for brown, since that’s what I had, and added a splash more milk. The batter is amazing, and so are the cookies! I’ve had this recipe saved for ages, and I finally got around to trying it. I can’t wait to try making your butter; I have everything ready except the time set aside.
I agree with Laura: your blog posts are for the baking-minded! It helps me understand the recipes in better depth. My favorite blogs/vlogs—including yours—do this and minimize the “let me tell you about my dog’s latest favorite toy” writing. Keep up the good work. <3 from Utah, USA
Wow thank you so much Monika that’s so nice! I’m so happy you loved the cookies, good to know they also work with coconut sugar! I hope you like the butter just as much ☺️
And I’m so glad the explanations are of help! My nonexistent dog agrees😂
I’m absolutely in love with your blog!! The way you describe your entire process to create a recipe and explain the purpose of every ingredient and how changes may affect the final result is everything I look for in a baking blog! I love to be able to understand every ingredients purpose so I can know what to change if the recipe doesn’t work out.
Not to mention the thechniques and out of ordinary ingredients like almond powder, which enhances the complexity of the flavor. I can’t wait to make theses cookies, the butter and also the brownie cookies!
When making the butter to use in these cookies, do you think I should add the almond powder or leave it out, since the cookies recipe already asks for it?
Thank you so much ❤️
Oh my god Laura you have no idea how much your comment means to me! Sometimes I just think i’m writing and explaining things into an empty void, but to know that it’s actually helpful to someone means the world! ❤️That’s the whole goal, to have people understand what sometimes goes wrong and what affects a recipe’s results! Thank you so much for taking the time to write your comment!
The almond powder in the butter can be up to you, it adds a bit of flavour and also enables the butter to brown if you want to use brown butter in this or another recipe, but it can be completely optional in this case, it doesn’t affect the texture of the butter 🙂
Do you weigh the almond flour before or after toasting it? (I’m assuming it loses some moisture so it wouldnt weigh the same after toasting) Cant wait to try this soon!
Hi Dana! Great question, I actually just weigh it before and don’t bother re-weighing after to avoid having to toast more, re-weigh, etc. The difference shouldn’t be significant enough in this case to affect the results!