
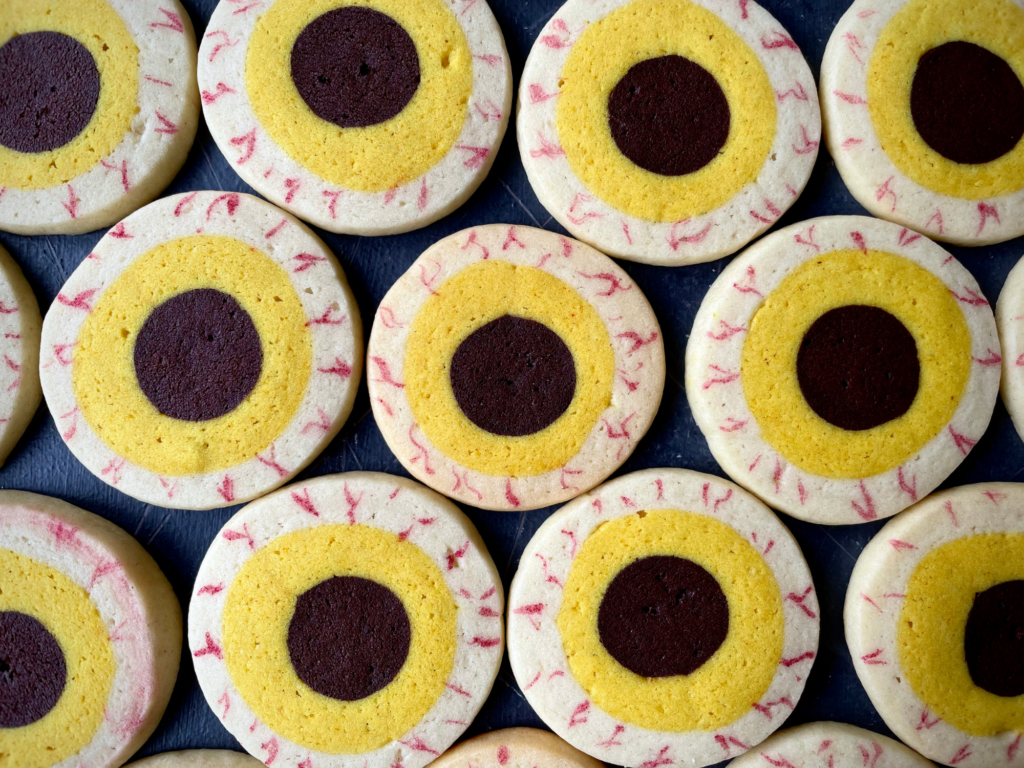
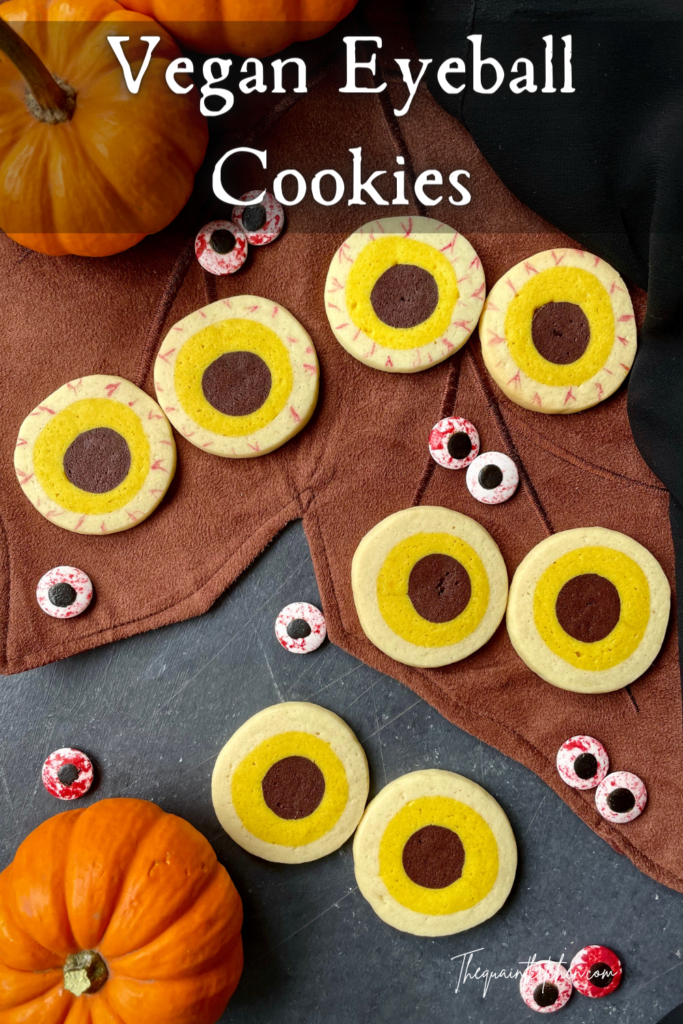
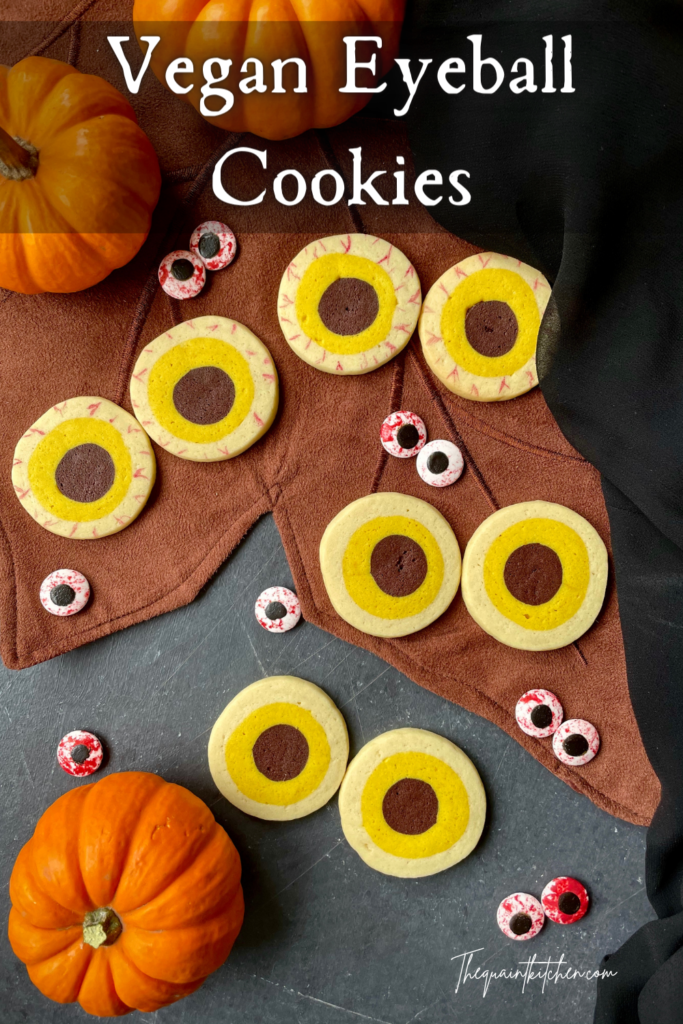
Vegan Eyeball Cookies

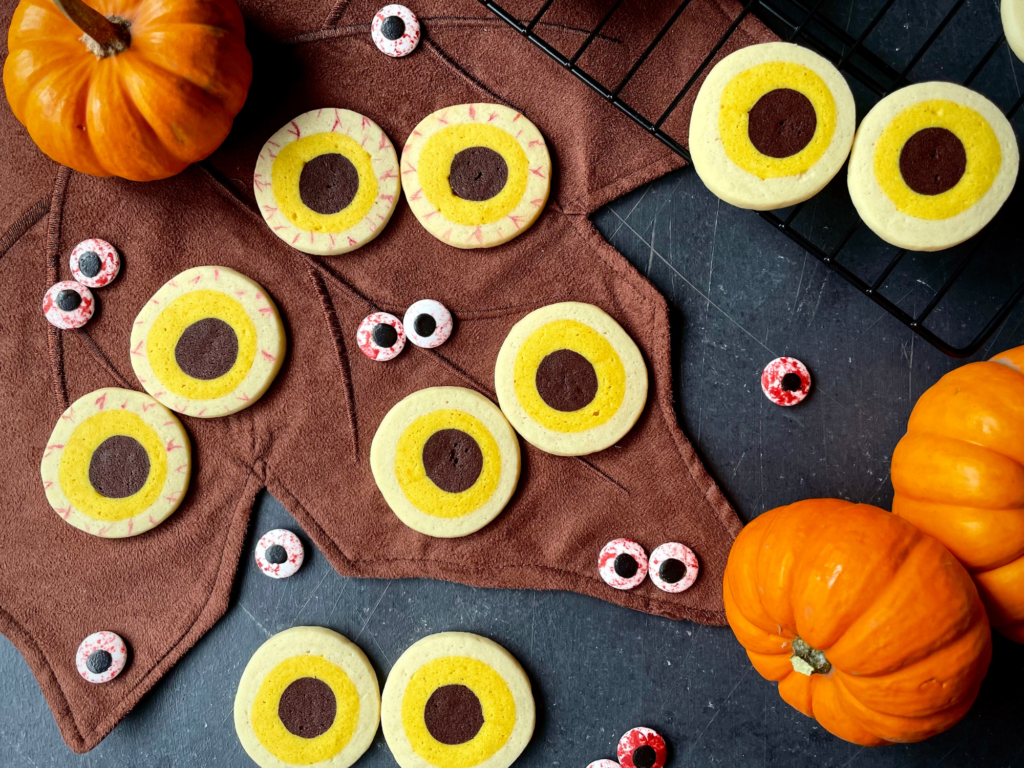
This recipe for vegan eyeball cookies will sadly be the only Halloween recipe I can put up this year (where does the time go!) but it’s a good one! And an easy one! So it’s a win-win one. But there’s always the cake and cookies from last year if you’re in need of some more ideas. Maybe this will become a tradition of me just making a different kind of Halloween sugar cookie every year. Who knows.
These are simple Pillsbury-style cookies, so basically a sliced up log of dough. They don’t require cutting out the dough or royal icing/piping on top so they can be made, baked and done fairly quickly! Or they can also be easily prepared ahead of time and baked whenever you need them.
how to make these vegan eyeball sugar cookies
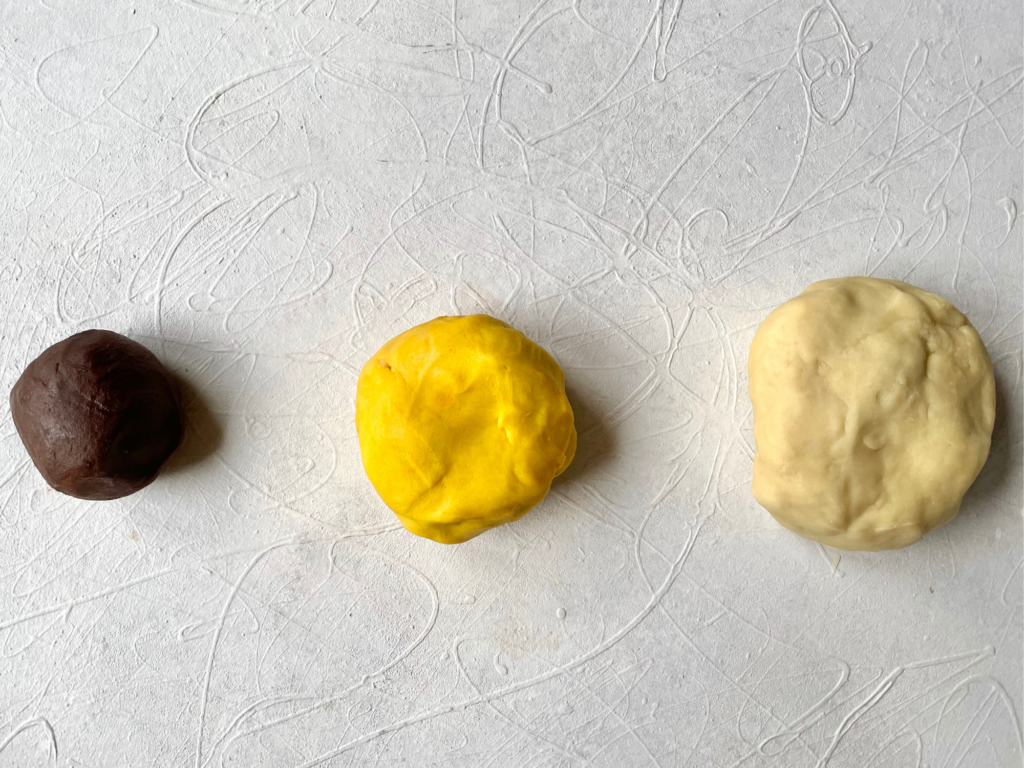
The doughs
The doughs are basic sugar cookie doughs wherein you cream the butter with the sugar, mix in the rest of the ingredients except the flour, then finish by mixing it in. As I mentioned in the striped Halloween sugar cookies post, the act of creaming the butter and sugar together is important here because it aerates the dough and prevents the cookies from being cracker-like. So this dough can’t be made with oil since it doesn’t incorporate or hold air as well.
I used homemade vegan butter for these but feel free to use the vegan butter of your choice. Just avoid the tub ones as they have a higher water content and will affect the texture of your dough and may cause your cookies to spread more.
The chocolate dough is a small recipe that can easily be done by hand. For the white dough, I used an electric hand mixer but it could also be done by hand with a bit of elbow grease. Once it’s made, part of it is dyed to form the middle of the cookie. I used turmeric here, but you can use matcha to make green eyes (which I wish I’d done) or even blue spirulina to make blue ones. You could also just add a few drops of food colouring If you’d like.
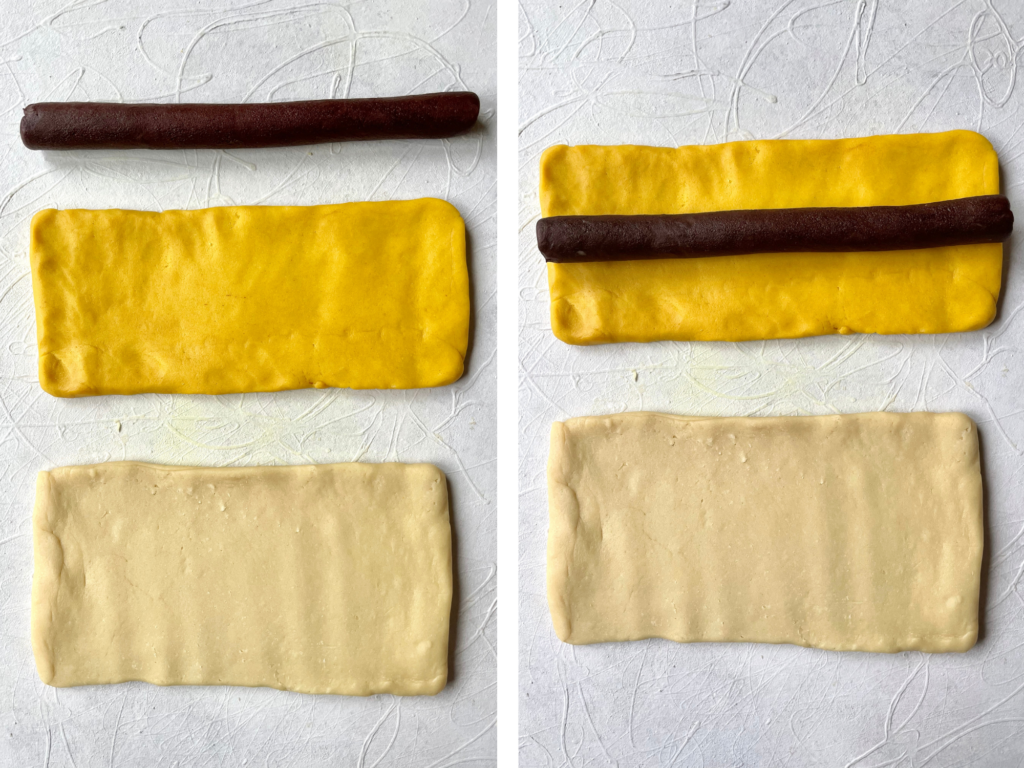
Shaping the cookies
Once the doughs have chilled for at least one hour or overnight, it’s time to shape the log. Start by rolling the chocolate dough into a 8”/20cm long tube, that will be the center. Then with a rolling pin roll out the coloured dough into a 8”x3”/20cmx8cm rectangle. And finally, roll out the white dough into a 8”x5”/20cmx13cm rectangle. Try to avoid using flour as it might prevent the layers from sticking together, just lift and move the dough often while rolling.
If the doughs soften too much, you can place them on a lined baking sheet and in the fridge or freezer for a few minutes. That way they’ll be easier to manipulate when forming the log.
Place the tube of chocolate dough in the middle of the coloured dough and wrap the coloured one around it. Give it a few rolls on your work surface to smooth out the outside and form an even log.
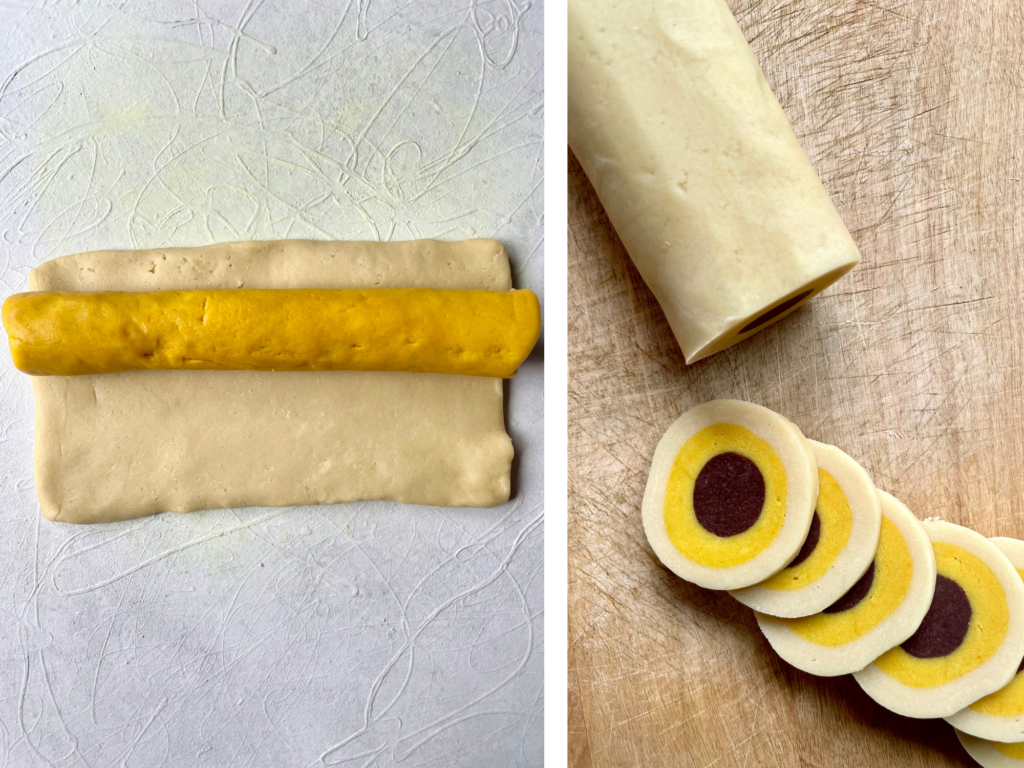
Then place that in the middle of the white dough and repeat the same process. Place the whole thing on a baking sheet and in the freezer for at least 30 minutes or until solid. Turn it every five minutes or so just to make sure one side doesn’t get flattened on the baking sheet.
Baking
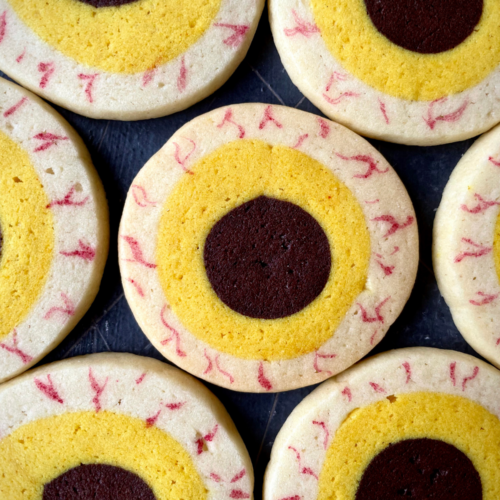
At this point you can wrap it in cling film and keep it in the freezer for up to 1 month. To bake right away, slice the log into 1/4”/6.5mm thick disks using a sharp knife. Place them on a lined baking sheet and bake them for about 11 minutes. They should still be pale, but they’ll be crisp around the edges and will stay slightly soft in the center. For a cookie that’s crisp all the way through, bake for 12-14 minutes.
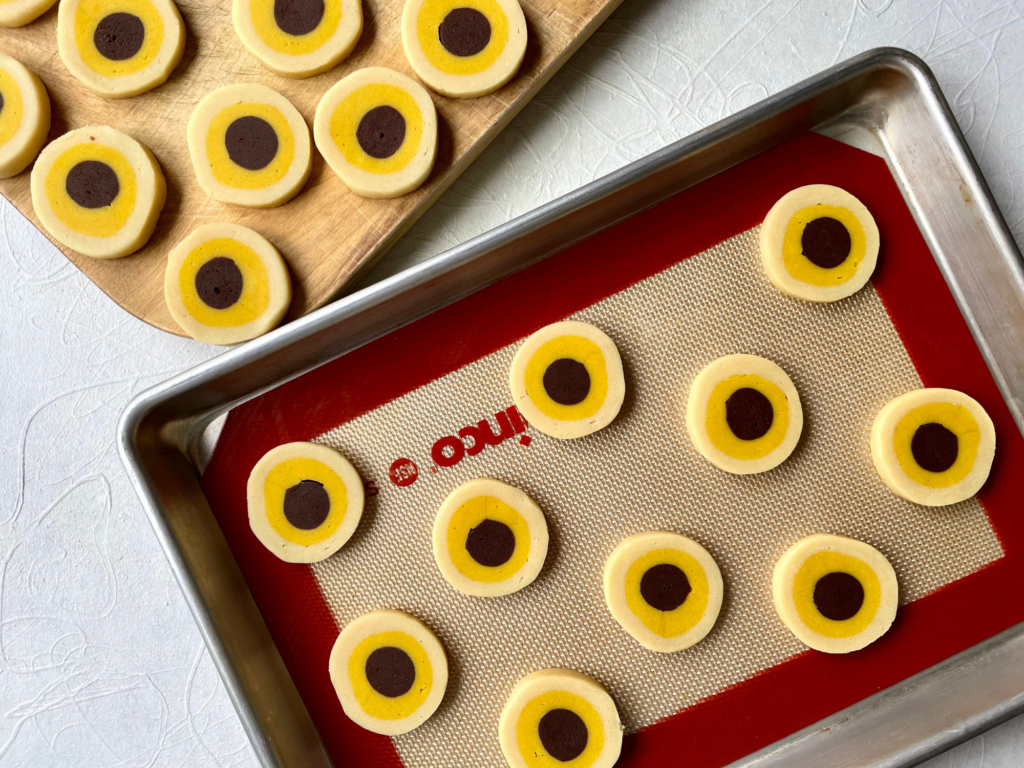
To ensure that the cookies hold their shape during baking, you can pop the baking sheet with the unbaked cookies on it in the freezer for a few minutes before putting it in the oven. You might also need to put the cookie log back in the freezer midway through slicing if it gets soft to avoid flattening it while cutting.
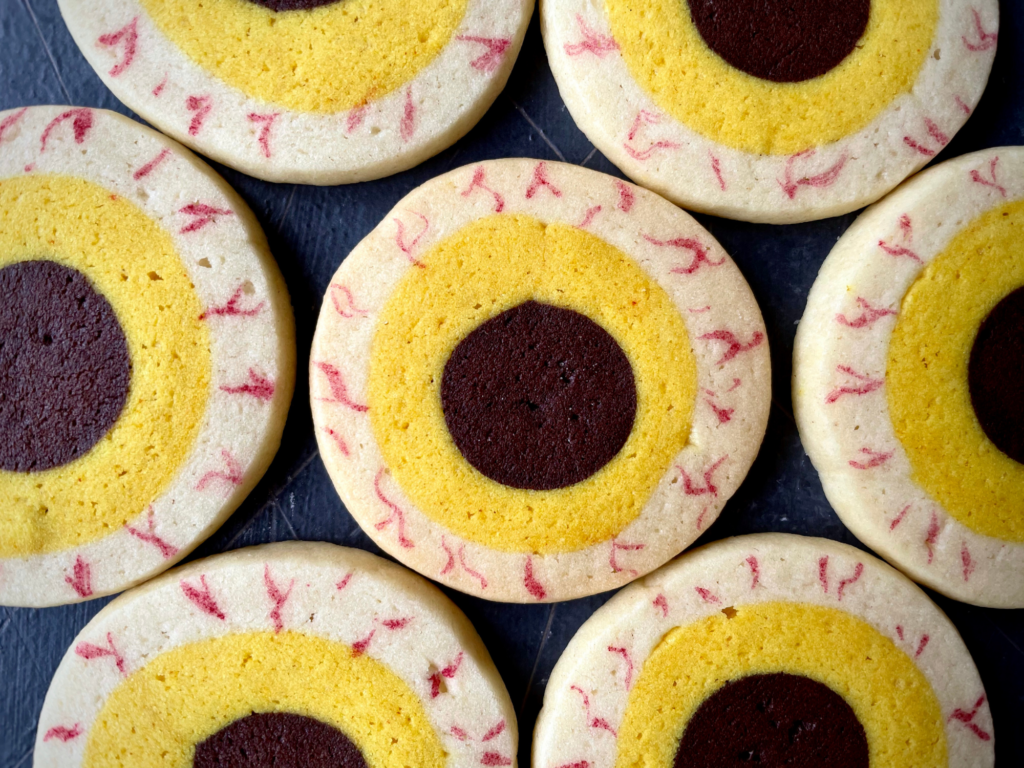
Decorating your vegan eyeball cookies
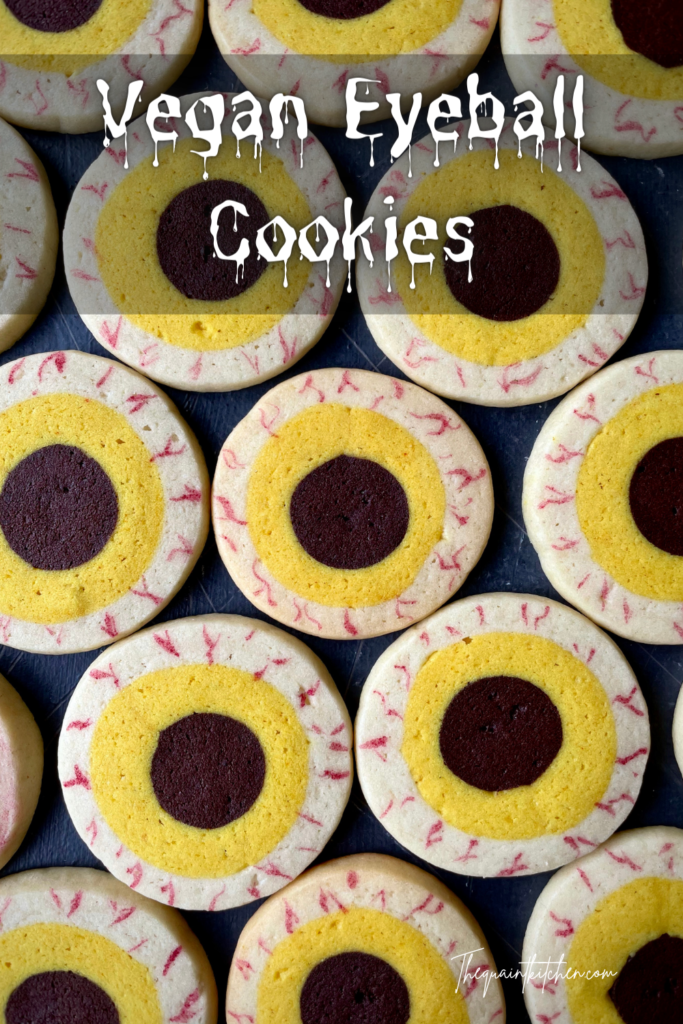
I know I said these don’t require royal icing on top since the pattern is the cookie itself but, you can go the extra mile and paint red veins. It’s completely optional, but it does make them extra creepy! Simply use a small paint brush and some beet juice or water mixed with red food colouring and go wild. Or you could even make these into sandwich cookies and use some red jam as filling. Just sayin’.
Storing these vegan eyeball cookies
As mentioned, the shaped log of cookie dough can be wrapped up and frozen for up to 1 month. Then just slice and bake whenever you want your Halloween cookies. The baked cookies can be kept in an airtight container at room temperature for up to a week.
If you make this recipe please let me know in the comments! All feedback is very much appreciated and I would love to hear from you! You can also tag me on instagram @the.quaint.kitchen or use the hashtag #thequaintkitchen to share your creations!
Vegan Eyeball Cookies
Ingredients
White Dough
- 93 g softened vegan butter, I use this one
- 98 g white granulated sugar
- pinch of salt
- 1 tsp baking powder
- 33 g water, room temperature
- 1 tsp vanilla extract or paste
- 180 g all-purpose flour
Coloured Dough
- 150 g white dough
- ½-¾ tsp turmeric or matcha, or food colouring of your choice
Chocolate Dough
- 16 g softened vegan butter
- 18 g white granulated sugar
- pinch of salt
- ⅛ tsp baking powder
- 8 g water
- 5 g cocoa powder
- 25 g all-purpose flour
Instructions
White Dough
- Cream the butter, sugar, salt and baking powder together by hand or with an electric hand mixer until slightly paler and fluffy.
- Mix in the water and vanilla. It will look split, that’s normal. Add in the flour and mix just until a smooth dough forms.
Coloured Dough
- Take out 150g of the white dough and mix the turmeric, matcha or a few drops of food colouring into it.
- Put both doughs in airtight containers or wrap them in cling film and place them in the fridge.
Chocolate Dough
- Same method as the white dough. The cocoa powder can be added at the same time as the water.
- Place in an airtight container or in cling film and in the fridge as well.
- Let all the doughs chill for at least 1 hour or overnight.
Shaping and Baking
- Follow the instructions and pictures in the blog post to form the layered log. Then chill it in the freezer until solid, turning it every so often to avoid it flattening on one side. In the meantime preheat your oven to 180°C/350°F and line your baking sheet with parchment or a silicone baking mat.
- Bake for about 11 minutes for a “crisp around the edges but softer in the middle” cookie or 12-14 for a cookie that’s crisp all the way through. In both cases the cookie will still be pale.
- Let them cool a few minutes on the baking sheet before transferring to a wire rack to cool completely.
- *Optional: with a small paint brush and some beet juice or water with a few drops of red food colouring mixed in, paint some veins on the eyeballs.
Notes
- *Disclaimer: I have a tiny not-so-great oven, so your bake time may vary from mine.
- I strongly suggest making recipes by weight, if you make them by cups I can’t guarantee that you’ll get the same results.