Baking Tips and Tricks
We’ve all been there. Thrown ourselves excitedly into a baking project only to have it go terribly wrong and be so stressful we swear off of it for good. Now, I’m not saying this post will solve all your problems. But hopefully these general baking tips and tricks can help you on your way to becoming a better baker, and help shed some light on where things could go wrong and how to improve the overall experience. Because baking should be fun, not panic-inducing.
10 baking tips and tricks
Don’t change a recipe
Strange coming from a vegan baker, but bear with me. Whether it’s changing ingredients, quantities or methods, modifying a recipe can lead to problems very easily. Especially if you’ve never tried the actual recipe to begin with.
Unless the recipe states that certain substitutions and changes can be made, it’s best to follow it exactly.
Something as simple as replacing white granulated sugar with brown sugar, or all-purpose flour with whole wheat, can potentially alter the outcome of a dessert completely.
If you must modify a recipe, at the very least do so after having tried it as is. Then, you can adjust it to your taste. But only change one thing at a time. If you change multiple elements at once and it doesn’t turn out, you won’t know what caused it not to work.
And don’t expect it to work perfectly either, because you never know how changes will affect a recipe. And finally, don’t do it when you need those desserts for something (like an occasion or event). I’ve made that mistake and it’s no fun.
Just to be clear, I’m not saying don’t experiment in the kitchen. Recipe testing is one thing, completely changing a recipe and expecting good results is another.
Prep, prep, prep
Mise en place (literally “put in place”) is key to being efficient and prepared. Having your ingredients at the ready, your oven preheated, your pans lined, your tools and equipment out. It all makes for a smoother process and ensures you have everything you need.
So always read a recipe fully before jumping into it. And make sure you have all the ingredients and enough of them. There’s nothing worse when baking than not having enough of something halfway through a recipe.
And if you’re making a big cake or baking for a lot of people, check if there’s anyting you can make ahead (there always is). And always leave yourself more time than you think you’ll need. It makes for a funner experience to take your time than to rush things.
And time put into preparation is time you’ll save while baking.
Work cleanly
As well as mise en place, working cleanly also contributes to a smoother baking experience.
Like having an empty sink to put anything dirtied in it without playing Tetris. Or keeping a small plate nearby to put your used spatulas, whisks and measuring spoons instead of smearing batter all over the counter.
Simply try to keep your workspace as neat as possible and clean as you go. All together, it makes the process easier, more efficient and saves you on cleaning time in the end.
Plus a clear workspace gives you more room to work, and when you have limited counter space, it makes a huge difference.
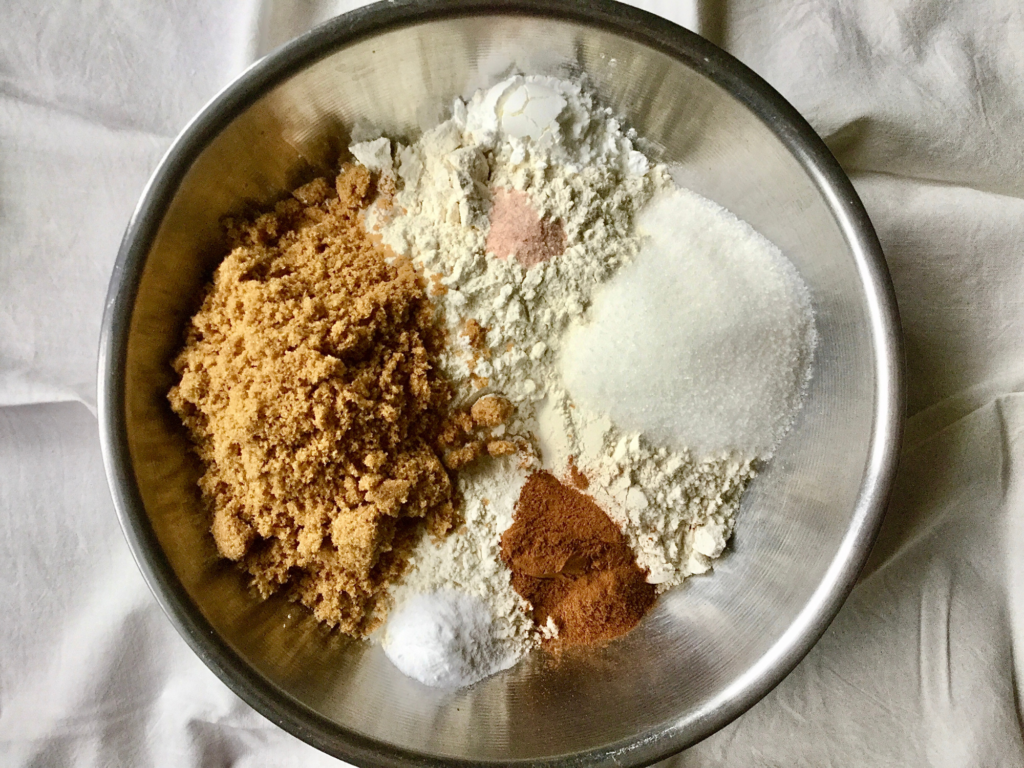
weigh your ingredients
Weighing your ingredients, especially when baking, guarantees consistent results (and less dishes).
For example, if you scoop 3 cups of flour, each of those cups will most likely have a different weight. That’s without taking into account how you scoop.
Straight from the bag, by tapping the cup on the counter to level it, fluffing the flour with a fork, etc. (And don’t even get me started on measuring chunky ingredients like nuts or chocolate chips in cups.)
A lot of variables come into play and the only way to always have the same quantity time after time is by using a scale. A gram is always a gram whether liquid or solid.
This will avoid you getting varying results when making the same exact recipe multiple times. It might explain, for example, why sometimes your cookies spread a lot and other times not at all. Or why sometimes your cake is drier than the last time you made it.
Let’s say you’re making a recipe that requires 2 cups of flour. One cup of flour is about 130g (depending on who you ask, it can range from 120-150) so you would need 260g total.
But each of those cups could potentially be off by 5-10g. That’s a difference of 10-20g, which can really impact a recipe.
You might think I’m being anal, but baking is a science, you’ve heard it before. And you want to understand that science, and control as many variables as you can to leave as little room as possible for error.
And, as a plus, it’s much easier to scale a recipe to your desired amount when it’s in grams rather than in cups.
Salt it all
Salt isn’t just good for cooking but baking as well. It balances the sweetness, brings out the flavours and rounds out the overall taste of everything you bake. Without it they fall flat.
You won’t (and shouldn’t) taste the salt, but if you made one batch of salted cookies, another of unsalted ones, and tasted them side-by-side, there would be a noticeable difference in taste.
Salt adds more depth of flavour and prevents desserts from tasting just plain sweet.
Most dessert recipes nowadays will already call for salt. But when they don’t, I always take the liberty of adding at least a pinch (depending on the size of the recipe).
And no, that doesn’t count as changing a recipe, so you won’t be going against tip #1. So whether it’s jams, cookies, cakes, frostings, bars or pies, all sweet things can benefit from a bit of salt.
Don’t overmix (this doesn’t apply to all you gluten-free friends)
When working with batters, cookie doughs, pie crusts, scones and anything else that isn’t a bread/yeasted dough, you want to avoid overmixing after adding the flour.
Once the flour is combined with a liquid that isn’t fat, gluten will start forming. This Modernist Cuisine post explains the process extensively if you’re interested.
The more you mix once the flour is added, the more gluten will be formed. It’s good for breads, but not so much for a flaky and tender pie crust for example.
Because gluten adds structure and elasticity, developping too much of it will result in a tough and dense baked good. Not to mention it makes a dough spring back more while trying to roll it out.
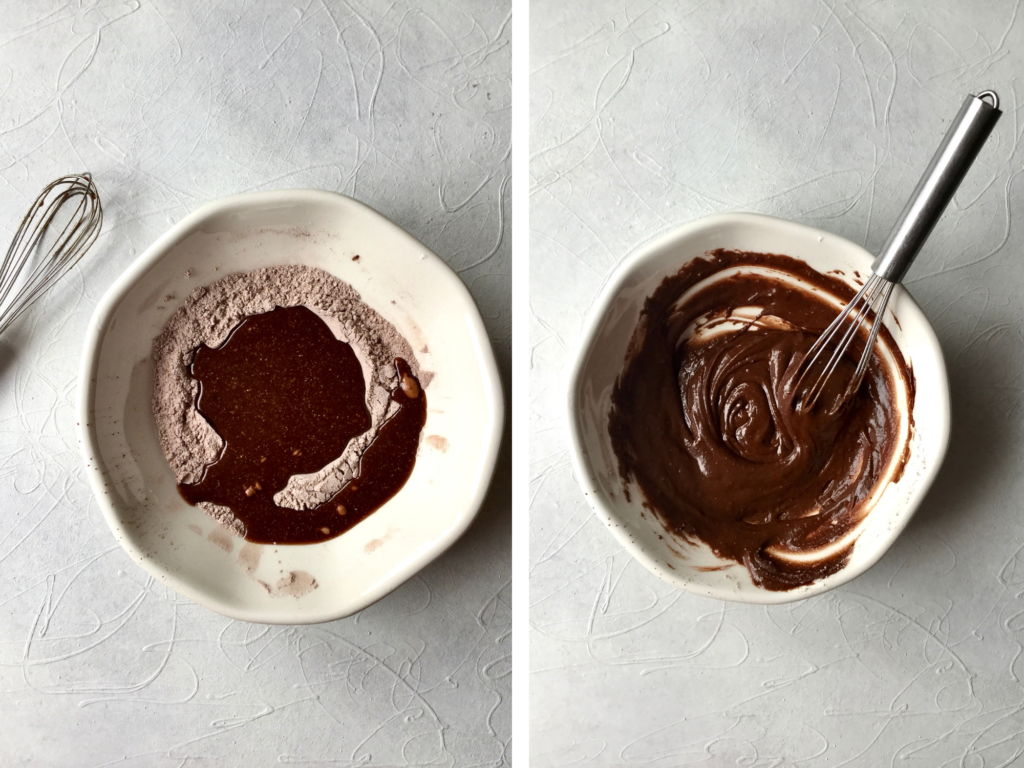
So when adding your dry ingredients to the wet, just mix until everything is well combined, and that’s it.
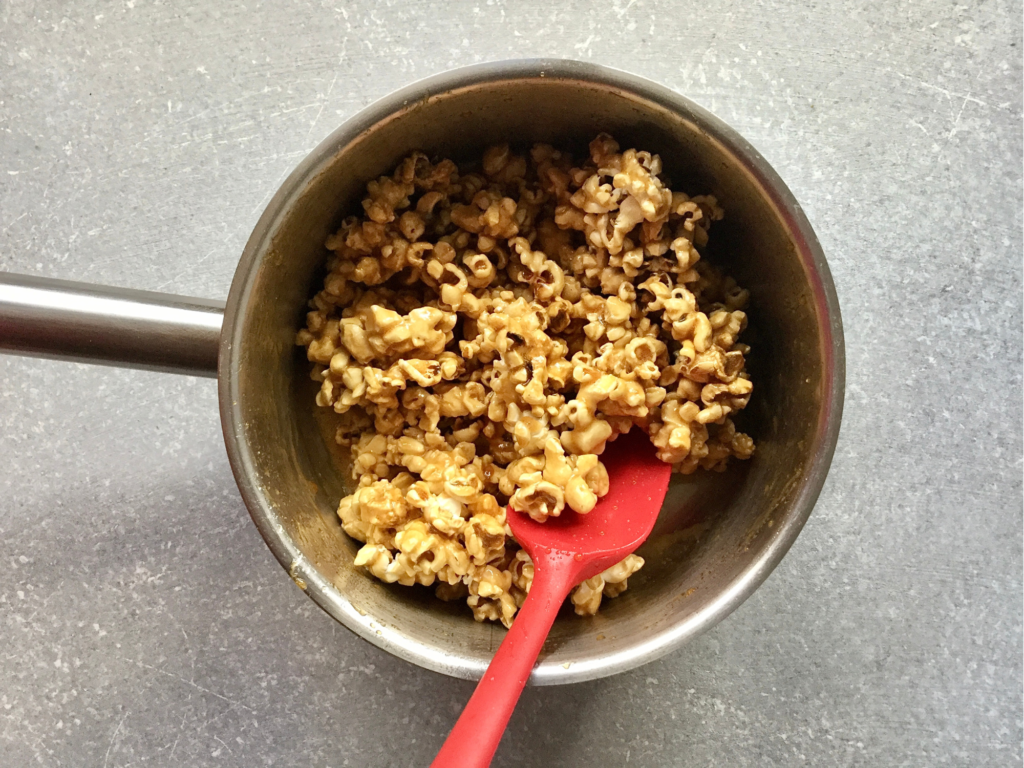
scrape like your life depends on it
One of my pet peeves is watching people bake or even cook (whether on-screen or in person) and not scrape their bowls. So I’ve basically become scraping’s PR manager.
I scrape everything and I spread the word to everyone to do it too. Batters, peanut butter jars, yogurt containers. You’d be surprised how much product can be left.
A silicone spatula is an extension of my arm in the kitchen and should be yours too.
Not scraping could be the difference between getting 11 cookies or 12. Or the reason you’re missing some batter for that last cupcake. Or why your cake crumb is uneven.
Because scraping periodically while making a batter is just as important as scraping it out all out in the end. It prevent bits of dry ingredients or fat from not getting mixed in properly and causing inconsistencies.
It might not seem dramatic, but when it’s dozens of cookies or pounds of batter you’re making and not scraping, it’s a lot of waste and room for unincorporated ingredients to hide.
And no waste = more baked goods, and how could you say no to that?
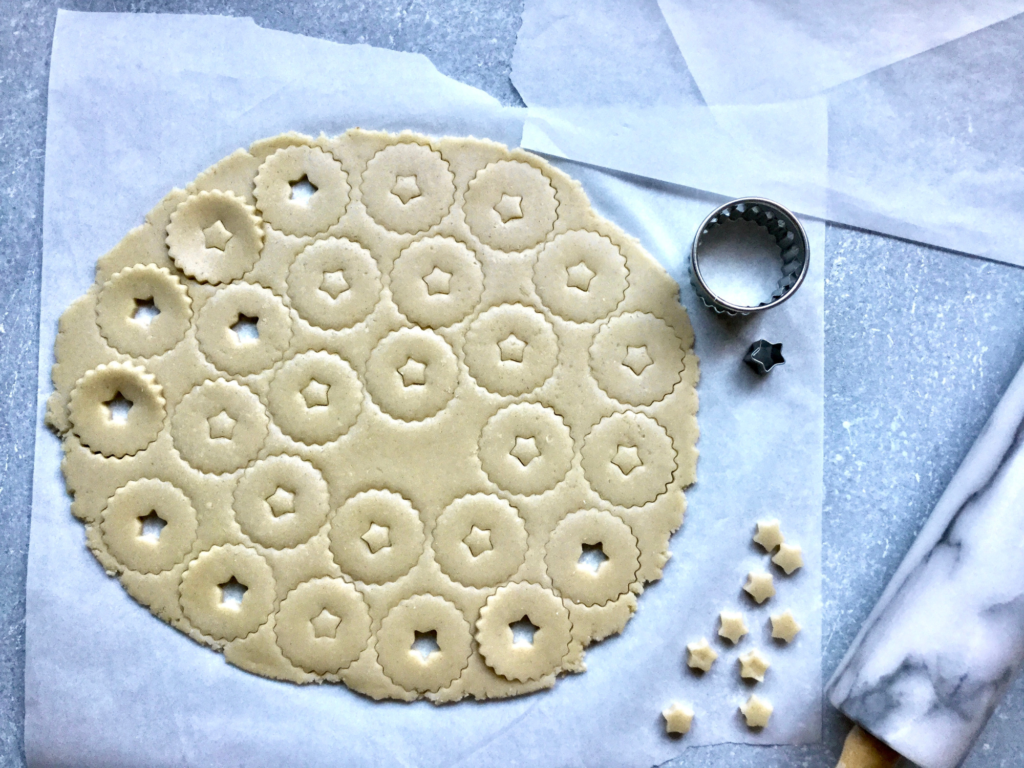
rest your doughs
Cookie dough, pie dough, shortcrust pastry, yeasted dough, puff pastry, etc. all benefit from resting/chilling time.
Unless it’s cake batter or something else that relies heavily on chemical leaveners, it can only improve your baked good. Which is why it’s always encouraged to chill cookie dough for 24h or let pizza dough and bread chill and ferment overnight, for example.
It gives the gluten in the dough a chance to relax, the flour a chance to hydrate completely and all the flavours time to meld and develop. Which means more flavour, even baking and spreading for cookies, more tender pie and tart crusts, fluffier and tastier bread or yeasted bakes due to fermentation, etc.
King Arthur Flour has a great example of the effect even as little as 30 minutes can have on cookies.
Don’t fear the yeast
I think breads and yeasted bakes is where a lot of home bakers draw the line. It took me a while when I first started out to feel comfortable working with yeast. But don’t fear it! Once you understand how it works it’s much less intimidating.
Yeast is a fungus, and like most (but not all), it thrives in a warm and moist environment with something to feed on. And like all organisms, it can die. Which is why when baking with it, most of the time it’s dissolved in warm (not hot!) water with a pinch of sugar for it to feed on.
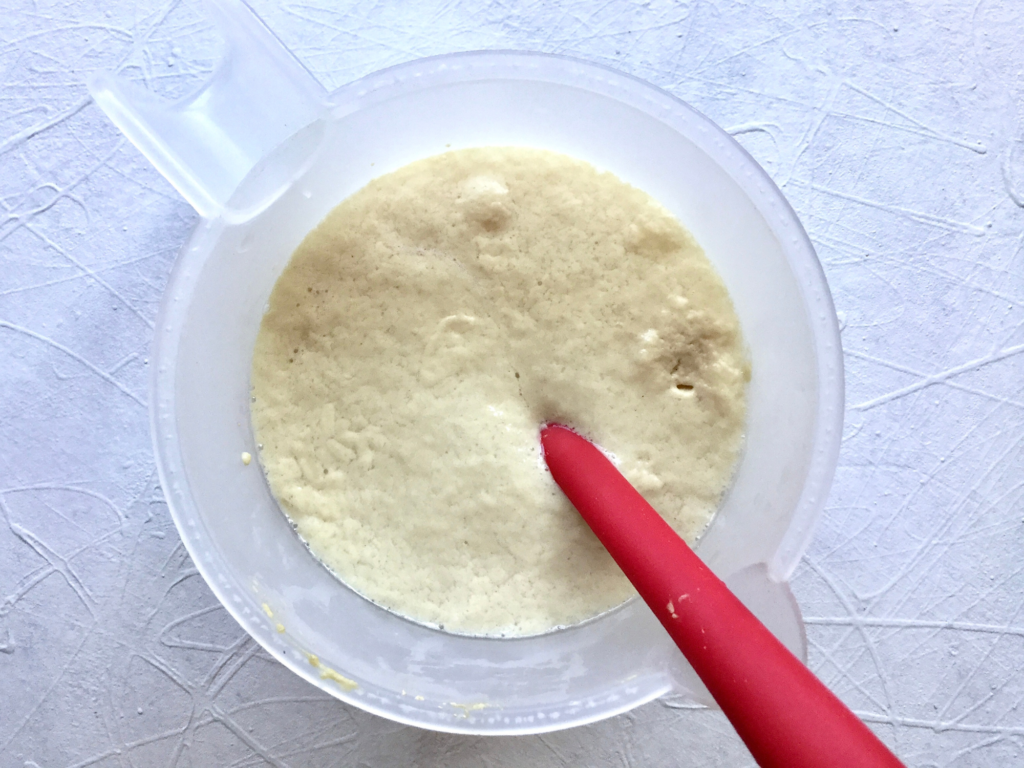
Water above 48C/120F will kill it, so you want to aim for about 37C/98F. If you don’t have a thermometer, it should feel just slightly warm when you stick your finger in the water.
As the yeast feeds on the sugar, it will release alcohol and carbon dioxide, which will cause the water to foam and later, the dough to rise. That’s how you know it’s alive and good to use.
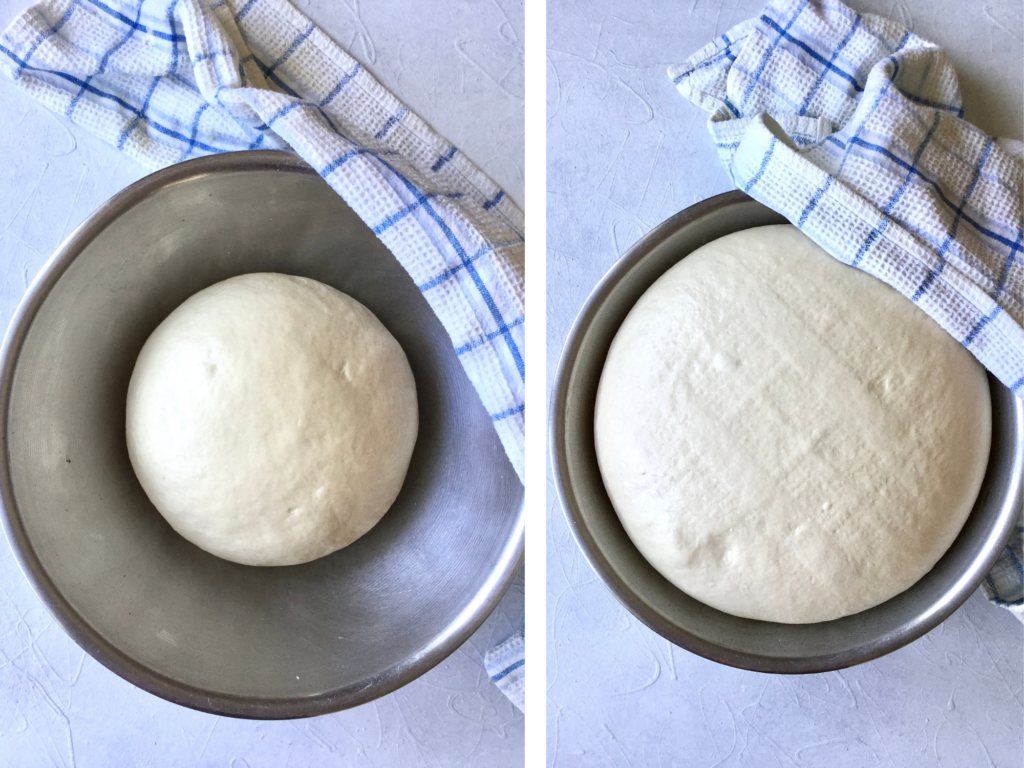
Now, you might be thinking “Ok, that’s all well and good, but why doesn’t it work when I do it??”. Well, the cause could be as simple as the temperature of your kitchen.
Mine is always cold, so in order for the yeast mixture to foam, I put it in my slightly warmed oven. Or else it would take ages. And same goes for the dough.
It’s all a matter of adapting to your environment. And if that still doesn’t work for you, your yeast might simply be dead. And in that case you just need a new batch. I always keep mine stored in the refrigerator to extend its life.
Practice makes perfect
Finally, and probably most obvious of all, is practice makes perfect (or almost). There’s no fast track to becoming a good baker. Just like any hobby, it comes with putting the hours and effort in. No one starts out a pro.
When something fails, it’s an opportunity to learn (no matter how miserable it is). And it’s only by making all kinds of recipes time and time again that you’ll finally become comfortable and pick up more baking tips and tricks.
As you progress you’ll figure out how to troubleshoot, understand different methods and develop your abilities.
If you’re a perfectionist especially, it can be daunting to do something when you know it won’t come out the way you imagine. But if you power through that phase, you’ll be on your way to baking like a pro in no time. *cue cheesy closing credit music*
If you have any questions, you can leave them below and I’ll try to answer to the best of my knowledge. And as always, any comments or feedback is greatly appreciated!